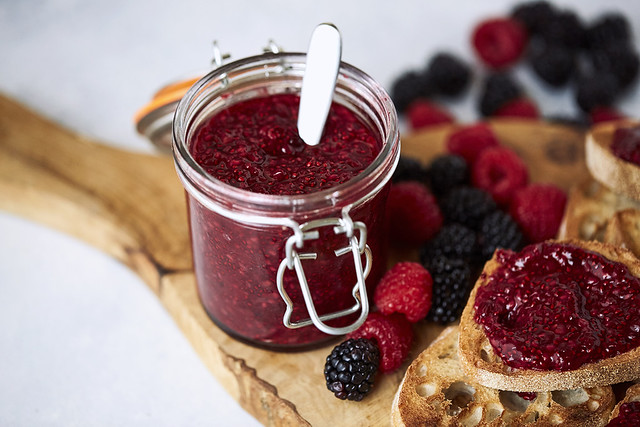
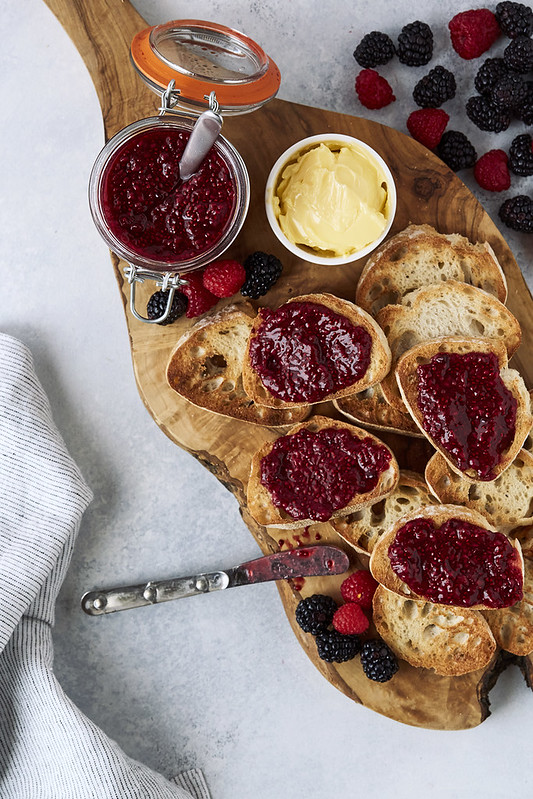
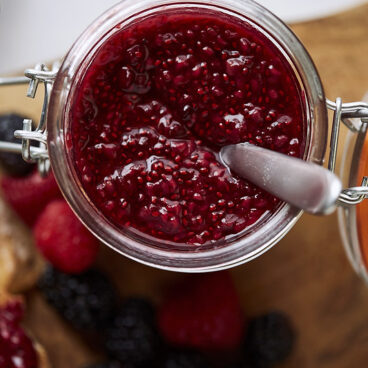
This Easy Chia Seed Jam is a wonderful way to preserve the fresh fruit of the season and enjoy delicious homemade jam without artificial colors and flavors or an ungodly amount of sugar. It’s a breeze to make, ready in about 15 minutes, plus there is no canning equipment necessary and you can control the level of sweetness leaving out refined sugar and instead using natural sweeteners like honey, maple or any other alternative you choose (or leave it out altogether and go al naturale).
Best part, this simple chia seed jam formula works with nearly any fruit you’d like, so go with the best the current season has to offer and get creative. Try strawberries, blackberries, blueberries, raspberries, cherries, cranberries, apples, pears, peaches, plums, etc. Experiment with blending various fruits and if you really want to have some fun, add in vanilla bean, fresh herbs or spices, rosemary, basil, fresh mint, cinnamon, nutmeg or ginger – the flavor combos are endless, really.
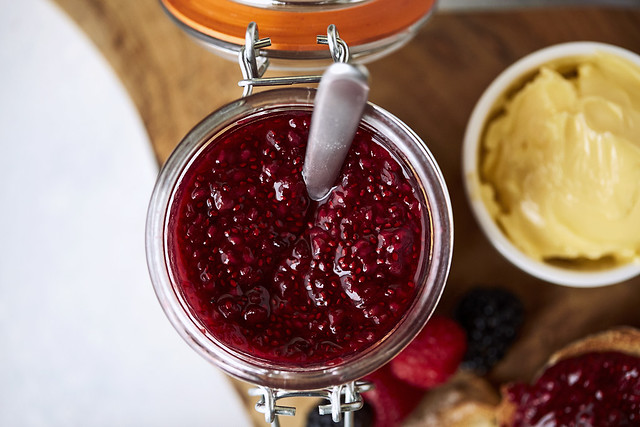
Not only do the magical chia seeds, one of my personal favorites when it comes to superfoods, offer up incredible thickness to this jam, due to their incredible superpowers of absorbing up to 9-12 times their weight, but they are also an amazing source of omega-3 essential fatty acids, fiber, protein, and various micronutrients. Chia seeds are also high in calcium, magnesium and phosphorus.
For 3-4 cups Chia Seed Jam You’ll Need
- 4 cups fresh fruit (we are using a blend of in-season berries here, but you can also use apples, pears, peaches, plums, etc
- 2 tablespoons freshly squeezed lemon juice
- honey or maple syrup, to taste (1-4 tablespoons), you can also try alternative sweeteners like stevia, monk fruit, or leave out
- 1/4 cup tablespoons chia seeds
*NOTE: this can also be made with frozen fruit, as well.
Tools:
- measuring cups and spoons
- small saucepan
- spatula or spoon
- potato masher
- glass jars for storing
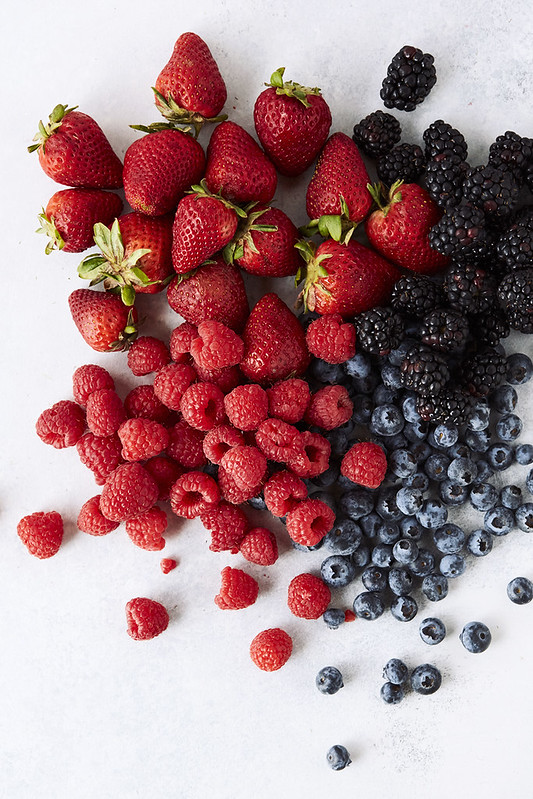
Prep the fruit. Leave berries whole and cut larger fruit into smaller pieces.

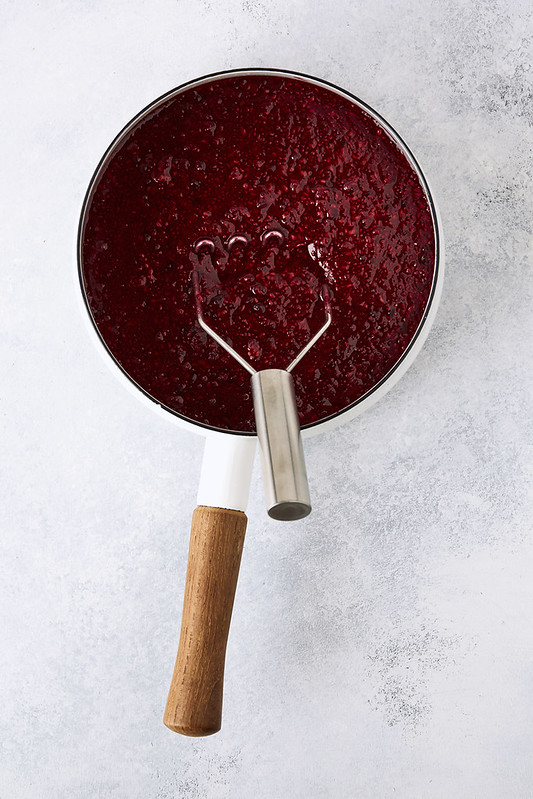
Cook and smash the fruit (here we are making raspberry blackberry jam) It will begin to liquify and get syrupy.
Add sweetener, lemon juice and finally the chia seeds.
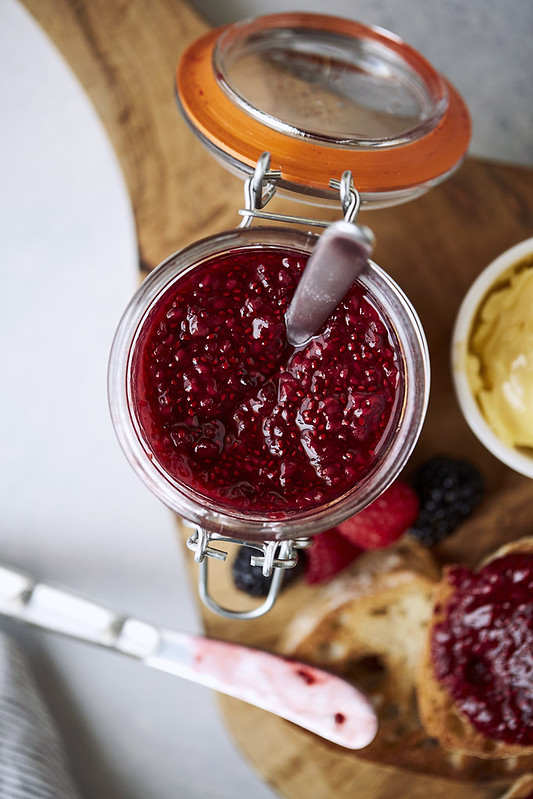
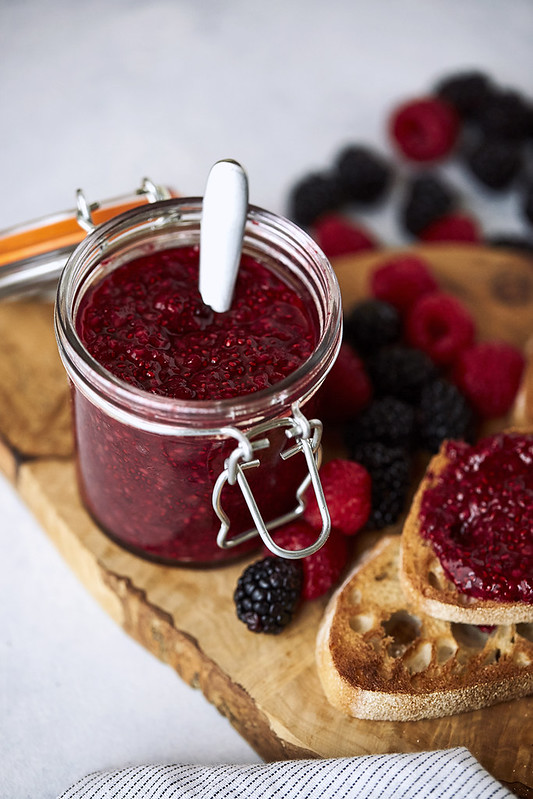
Let cool and thicken. Store.
That’s it!
How-to Make Easy Chia Seed Jam
Ingredients
- 4 cups fresh organic fruit (we are using a blend of in-season berries here, but you can also use apples, pears, peaches, plums, etc
- 2 tablespoons freshly squeezed lemon juice
- honey or maple syrup, to taste (1-4 tablespoons), you can also try alternative sweeteners like stevia, monk fruit, or leave out
- ¼ cup chia seeds
Instructions
- Prepare the fruit. Clean and prep as necessary. For berries, simply rinse and remove any leaves and stems. For other fruits remove any pits, seeds or skins, as necessary. Smaller berries (blackberries, raspberries, blueberries) can be left whole, larger fruit should be chopped into smaller pieces.
- Add the fruit to a saucepan. Cook down over a medium heat, until the fruit begins to break down, liquiefy and get syrupy, stirring often as it begins to cook to avoid it sticking. This process takes about 5-15 minutes, depending on the fruit. Carefully mash the fruit with a potato masher, fork or spatula as it is cooking down, until you reach your desired consistency, as lumpy and chunky or as smooth as you'd like (note: you can use an immersion blender if you want it very pureed without any fruit bits).
- Allow the fruit to come to a very light boil. Remove from the heat and add the lemon juice and sweetener of your choice, stir well to combine. Give it a taste and add more sweetener, as needed, along with any other add ins, herbs, spices, etc.
- Pour in the chia seeds and stir very well to combine. Let stand a about 10 minutes to allow it to start to thicken (it will just continue to thicken, as it cools) and cool off. At this point, if it still seems too thin for your liking, add a bit more chia seeds and let sit just a bit longer.
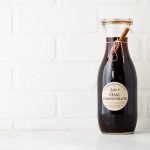
- Once fully cooled to room temperature, transfer to an airtight glass container(s) and store in the refrigerator for about 2 weeks. You can also freeze for up to 3 months.
Notes
For lighter color fruits, you can also find white chia seeds, that are a bit less noticeable, visually.
This recipe will also work with frozen fruit.


One Response
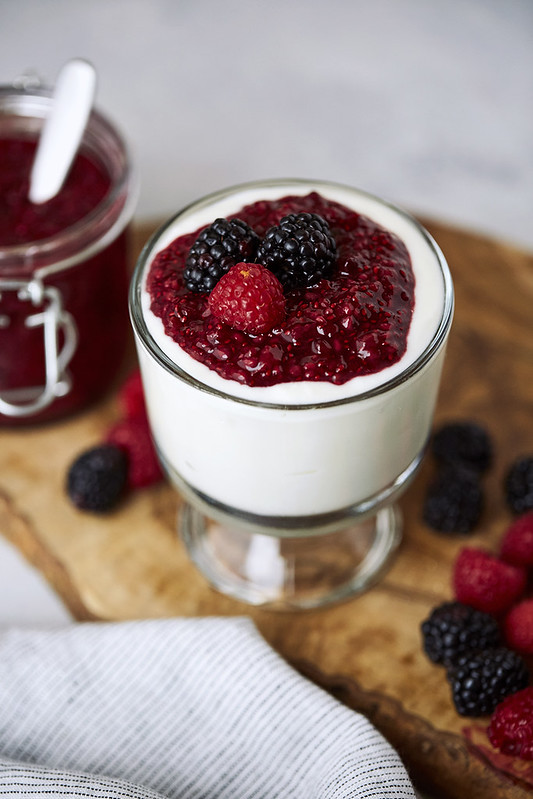
As always, a perfect replacement for a favorite treat which may be added to all that you showed, and more. I love this on homemade coconut/almond milk panna cotta . YUM!