-
How-to Make Essential Oil Holiday Room Sprays

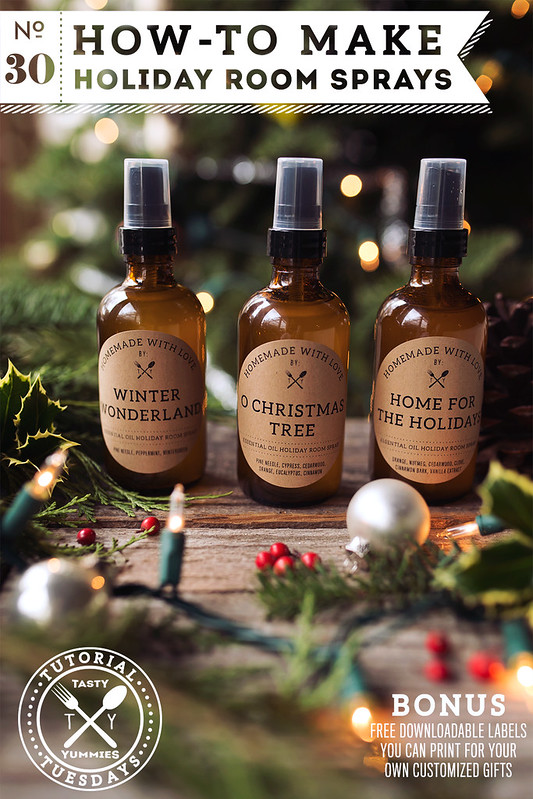
The various aromas of the holidays and the feelings they evoke are certainly synonymous with this time of year. The rustic evergreen of a fresh cut christmas tree; spicy, warming cinnamon, nutmeg and cloves; bright, citrusy orange or the fresh, minty smell of candy canes – these can all bring the good feelings of seasonal cheer, the reminder or family and love and the promise of a season full of joy and happy memories.
As someone very triggered and often driven by scent, I am also someone who is very sensitive to scent. I always have been. Would that make me scentsitive? heh. I find the fake, synthetic aromas to cut through the air, not in a good way, and often times they provide an instant headache. They linger and simply mask any existing odors, they can overpower a room and even more alarming, they are often loaded with so many chemicals. The more I clean up my life and the more I cut out, the more I am aware of and sensitive to where all nasty stuff is hiding. That connection of your brain to your body and that innate knowing of what to avoid, certainly becomes more heightened. The more connected and in-tune I become the more I seek for natural, clean alternatives.
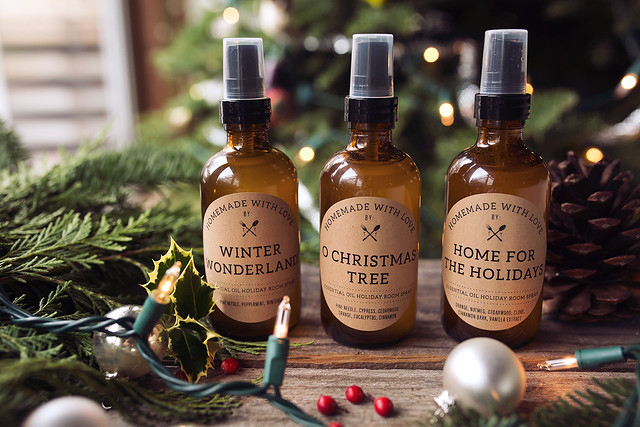
These holiday inspired all-natural scents will not only provide a welcoming and cozy, seasonal setting perfect for holiday gatherings, but you’ll also be reaping the many therapeutic benefits of the essential oils, too. Purifying the air, warming your soul and uplifting your spirit, these room sprays are inexpensive to make, you can customize your scents and your blends to make your own personalized aroma and of course, they make an amazing gift.
This formula and the various blends fill a 4oz bottle, but feel free to double or triple your recipe. As always, I provide you with printable labels to customize your gifts. I left the area where the oils are listed, blank, so you can make your own custom blends.
-
Vegan Candy Cane Hot Cocoa Mix (Gluten-free)
There a some flavor combinations that for me are the classic quintessential tastes of the holiday season. The combination of chocolate and peppermint this is definitely one of those. For my final giftable recipe this month in my series with Free People, I thought a handmade gift that was not only pretty, but tasted amazing would be the best way to end things. Hot cocoa is not just for kids, but also for the kids at heart.
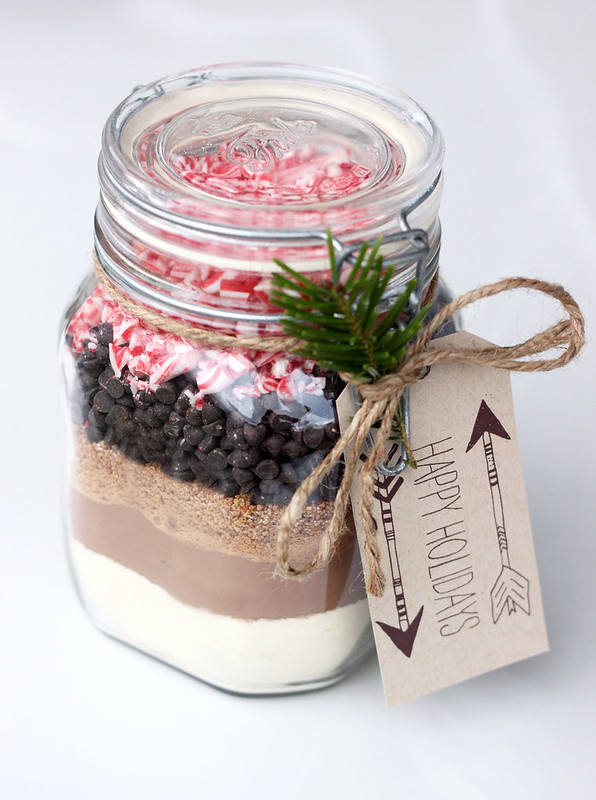
Layer the delicious ingredients for this homemade candy cane hot chocolate in a jar and add some fun decorative touches like a fresh clipping of evergreen, wrap fabric over the lid, tie twine or ribbon and add a pretty tag. It not only looks beautiful, but it is so tasty, too! The bonus is this hot cocoa mix is vegan and gluten-free and depending on the ingredients you use, low in refined sugars, as well.
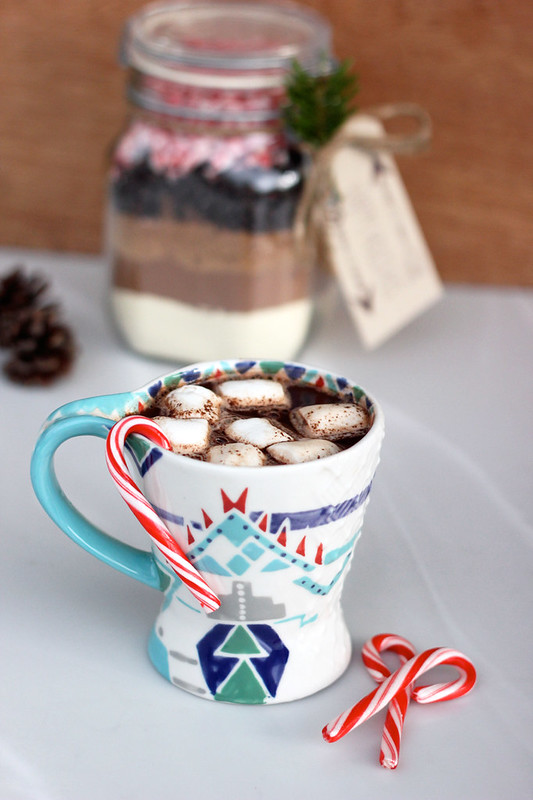
On it’s own or with a nice mug to compliment it, this simple DIY gift is sure to put a smile on anyone’s face! It’s a great hostess gift, it’d perfect for the secret santa giveaway, or just a thoughtful handmade gift for the chocolate loving vegan in your life. This simple ratio of ingredients can also be used to make a small batch for yourself, anytime you’d like!
[print_this]Vegan Candy Cane Hot Cocoa Mix
Fills a 1 quart jar, makes 12 servings- 1 cup powdered non-dairy milk, such as soy or rice (or powdered dairy milk, if you aren’t vegan)
- 1 cup unsweetened cocoa powder (be sure it is vegan)
- 3/4 cup coconut sugar (or raw cane sugar)*
- 1/2 teaspoon fine sea salt
- 1/2 cup miniature semi-sweet vegan chocolate chips
- 1/2 cup crushed vegan peppermint candy (these particular candy canes are great – no GMOs, no HFCS, no artificial dyes, etc )
Optional:
- 1/2 cup vegan mini marshmallows
- A few additional mini or full-sized candy canes
Layer the powdered non-dairy milk, cocoa powder, coconut sugar, salt, chocolate chips, and peppermint candy. If you’d like, you can add mini marshmallows to the top of the jar, if there is room or attach a plastic bag full to the jar. On the back of the gift tag, write:
“Mix all of the ingredients together in a large bowl. For each serving, place 1/4 to 1/3 cup cocoa mix in a mug and stir in 1 cup boiling water or non-dairy milk. Mix keeps in airtight container at room temperature for up to six months.”
OR
If you wish to leave the powdered milk out, shake all of the remaining ingredients together (you may want to increase the ingredients by 25-50% to fill up the jar without the powdered non-dairy milk). Once fully mixed, add it to the jar and layer marshmallows on top, if there is room. Change the directions on the gift tag to read:
“For each serving, heat 8 ounces of your favorite non-dairy milk in a small saucepan over medium heat until hot (alternatively, microwave 2-1/2 minutes at full power). Whisk in 1/4 to 1/3 cup hot chocolate mix. Mix keeps in airtight container at room temperature for up to six months.”
*Consider making a homemade vanilla sugar first, using my recipe for vanilla sea salt, replacing the salt with sugar. Use an equal amount of the vanilla sugar instead of plain sugar in in this recipe and it takes it to a whole new level!!
**Note: if your container is a different size, just keep the ratio of ingredients constant.**[/print_this]
This recipe originally appeared on the Free People blog BLDG 25.
-
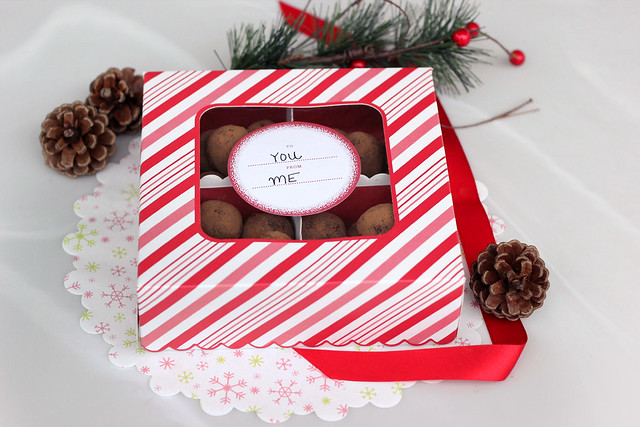
Dark Chocolate Peppermint Truffles – Gluten-free + Vegan
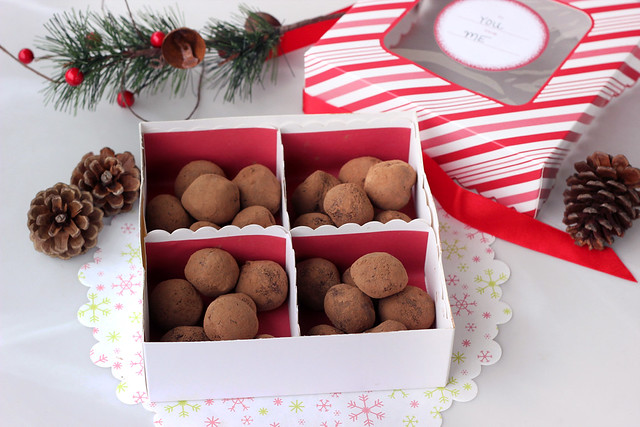
What better gift to give than the gift of chocolate, right? These dark chocolate peppermint truffles are sure to leave a smile on any chocoholic’s face. Especially when they find out you made these just for them.

These truffles are simple to make and they are naturally both gluten-free and vegan. Additionally, they are low in sugar and very simple to make. A few ingredients, a few minutes at the stove and that’s about it. You can even play around with the recipe and leave out the peppermint and roll them into other goodies, like chopped nuts, coconut, melted chocolate or chocolate bits, etc. Make this recipe your own and customize it for whomever will be receiving it.
[print_this]Dark Chocolate Peppermint Truffles – Gluten-Free + Vegan
makes about 24+ truffles (depending on their size)- 1/2 cup full-fat coconut milk (the canned kind)
- 2 tablespoons coconut oil
- 10 ounces high quality vegan dark chocolate (70% cocoa) – chopped
- 1 teaspoon vanilla extract
- 1/2 teaspoon peppermint extract
- dash of sea salt
- 1/4 cup cocoa powder
In a double boiler, heat coconut oil and coconut milk over a low/medium heat, whisking until just melted and well incorporated. Add the chocolate, stirring continuously, not allowing it to heat too quickly. Just as soon as it is melted, remove from the heat and stir very well to make sure it is all well incorporated. Add in the vanilla and peppermint extracts and salt.
Pour into a 8″ baking dish or a pie pan and refrigerate until the mixture is mostly set , but still pliable. Using a 1″ melon baller or a tablespoon, scoop out the chocolate and roll into balls using your hands, set them on a parchment paper lined cookie sheet. Once all have been rolled, place the sheet into the refrigerator for about 10-15 minutes, up to overnight.
Place the cocoa power onto a small plate and roll the balls in the cocoa powder to coat, you can also put the cocoa powder in your hands and roll them around that way. Store the finished truffles in the refrigerator.
These truffles will keep up to two weeks in an airtight container in the refrigerator. Allow to come to room temperature for about 15 minutes, just before serving.
[/print_this]
This recipe was originally shared on Free People blog BLDG 25


