-
How-to Make Homemade Mayonnaise

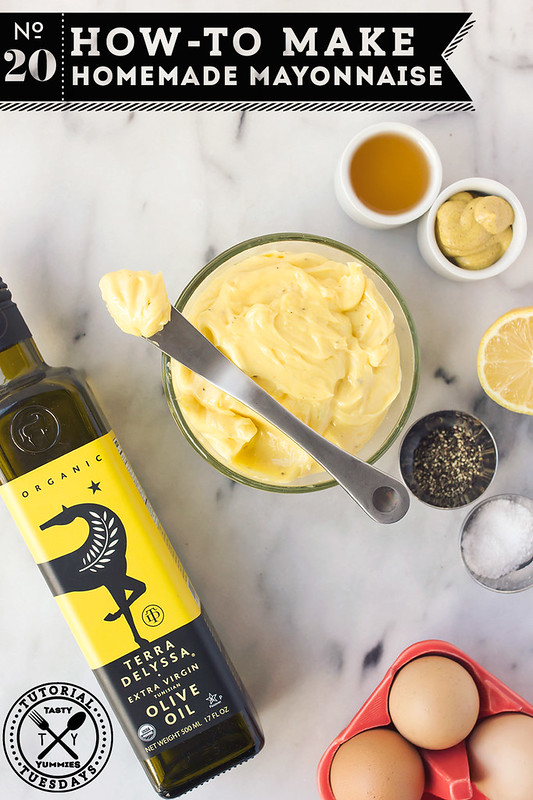
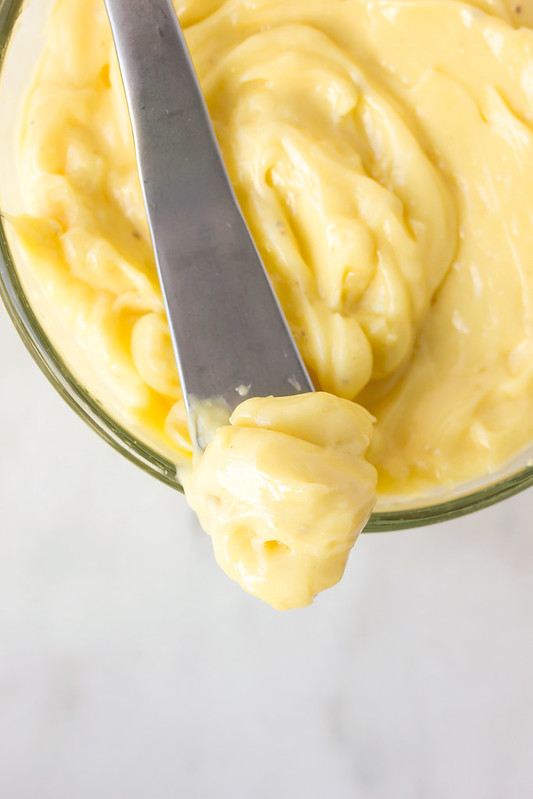
Homemade mayonnaise might be one of my favorite, simple DIY foods. The very first time you make it, you’ll be wondering why you haven’t done it before. Once you see how simple it is to make and how incredibly delicious it is, you’ll be hooked, too. As usual, beyond the taste, what I really love is how I have control over all of the ingredients and I know the quality of the eggs and oil used and I know that there are no additional preservatives or stabilizers being added.
We get farm fresh pastured-raised eggs delivered to our home weekly, the farmer himself, drops them by. Before you even taste Tony’s eggs, you will notice a significant difference in the color of the yolks, compared to regular store-bought eggs (even the fancy organic, “free range” ones). The color is so vibrant, more of a golden orange color, much like the sun, rather than a pale, pastel yellow, like most eggs. There is truly nothing like farm fresh eggs, everything you make with them is tastier than you can ever imagine.
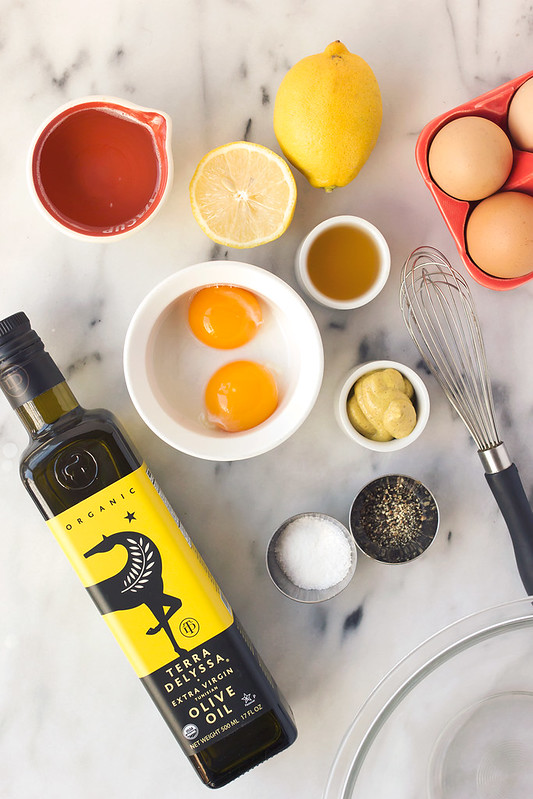
Most store bought mayonnaises rely on canola oil and other less ideal vegetable oils. What I love about making my own mayo at home is that I can use the highest quality eggs and oils. I generally prefer to use a mix of organic extra virgin olive oil (Terra Delyssa, of course) and either coconut oil or MCT oil. Avocado oil and macadamia nut oil are also both really great options.
For the purpose and ease of step-by-step photos and for dramatics (and a good arm workout), I made this batch by hand, just a bowl and a whisk. That’s all you need. But generally I make it in my blender or food processor, which is much easier. An immersion blender would really do the trick. (and it will be done probably in less than 1 minute)
-
How-to Make a Mulled Wine Kit


For all of you last minute Christmas elves, this simple-but-sweet tutorial on How-to Make a Mulled Wine Kit is great for the wine lover on your list and it also makes a wonderful, thoughtful gift for any hostesses/hosts of holiday parties and other celebrations this season.
You can easily grab what you need from your pantry and the local grocer and pull this together in minutes. You can even skip the wine and the alcohol all together and send this along with a quart of local apple cider for a mulled cider option.

Mulled wine is such a comforting and festive drink this time of year or really anytime from the fall through the winter. It’s easy to make and this kit makes it even easier. Besides the simple recipe for the mulling spices and the instructions on the different ways you can package your gift, I even created printable tags and instructions for the gift recipient, for you to include in your kit. So, literally all you have to do is pull your ingredients together, hit “print”, fill your name in and your gift is done! Simple as that. Grab a cute box or wooden crate, or a beautiful gift bag, some cute ribbon or twine and voila, a thoughtful, handmade edible gift!
-
How-to Make Chocolate Bark
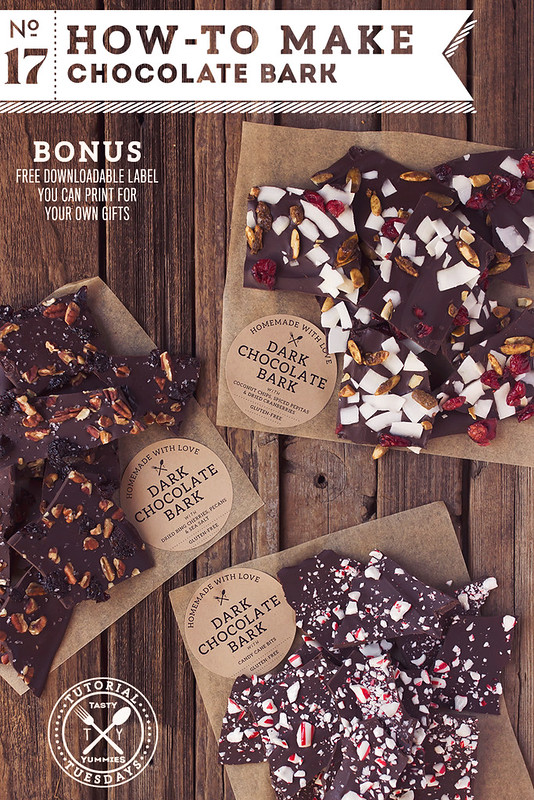
Homemade holiday gifts are one of my very favorite things. I love thoughtful, personalized gifts that are truly made with love! Homemade chocolate bark is probably one of my most favorite edible homemade gifts to make. Whether it’s a gift for a hostess of a holiday party or your dish to share, homemade chocolate bark is super simple to make and you can customize it to no end.
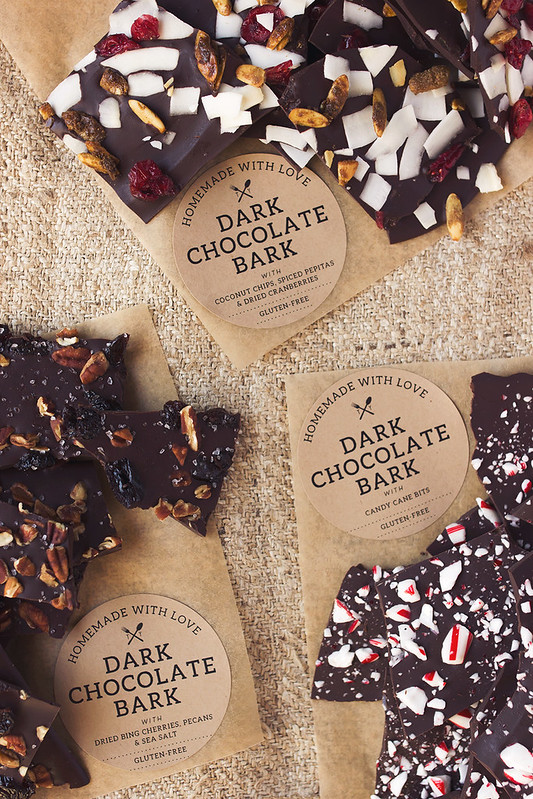
The possibilities for flavors and toppings is endless and you can really create something super special for whoever will receive it. It is super easy to make your chocolate bark allergen friendly, too. Easy to make gluten-free, vegan, nut-free, soy-free and so on. You can add dried fruit, nuts, seeds, your favorite cookies or candy, dried botanicals, spices or herbs. Some of my personal favorite flavor combos include sea salt or smoked sea salt. I also love a sprinkle of cinnamon, chili powder or cayenne to bring a little heat. Gluten-free pretzels or mini peanut butter cups are both amazing and fun toppings. The list could go on and on.
-
How-to Make Crock Pot Pumpkin Butter

For all of the crazy detailed, tutorials I have shared here, with lots of steps and tons of testing on my part, I equally love super simple, one step DIYs, as well. This week I show you How-to Make Crock Pot Pumpkin Butter and it seriously couldn’t be any easier. Let’s first clear the air for those of you that don’t know… Pumpkin Butter has no butter in it. No dairy of any kind. Discuss. Seriously though, it’s just that it’s thick like butter I guess? I don’t know who came up with the name.
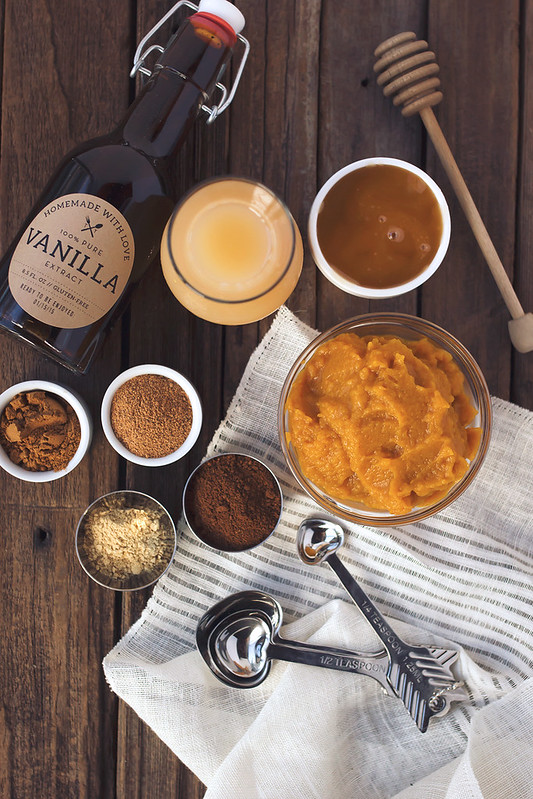
This super simple recipe requires very little of you. You literally dump the ingredients into your crock pot, stir, turn it on, let it cook. Done. I find the crock pot to be easier than the stove top and because it cooks low and slow, I like the flavor so much better. I do suggest still keeping an eye on the crock pot, since it can stick and you do not want scorched, burnt pumpkin butter, it won’t taste good that way. I personally recommend fresh pumpkin puree, which is stupid easy to make and provides the best flavor, but canned pumpkin will also work perfectly, I have made it both ways and they are both crazy delicious.
-
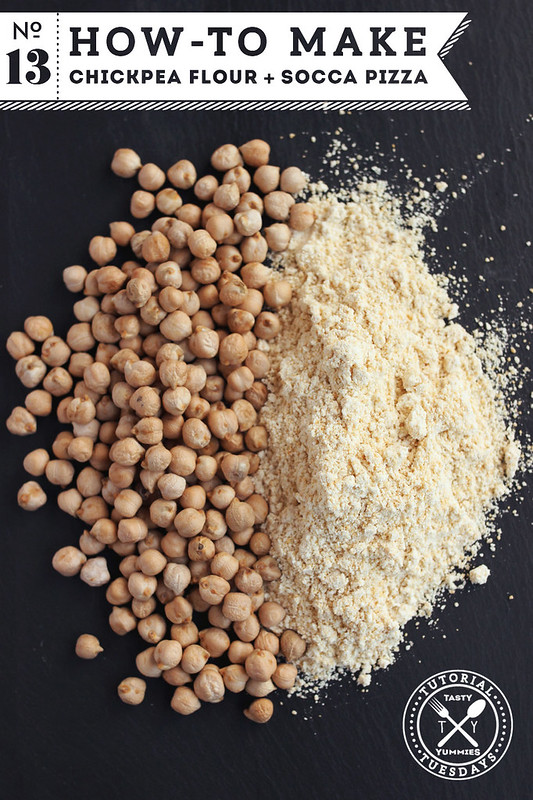
How-to Make Chickpea Flour and Socca Pizza
{Have you entered the Blendtec Giveaway yet? It ends this Friday}
I know by now, I really don’t have to tell you guys how much I enjoy making things from scratch! I would say that is quite apparent after over 4 years of blogging. Mostly I choose this way of living because I would always prefer to know what exactly is in everything I am eating. I love knowing that things are safely gluten-free and not processed or filled with weird, scary junk.
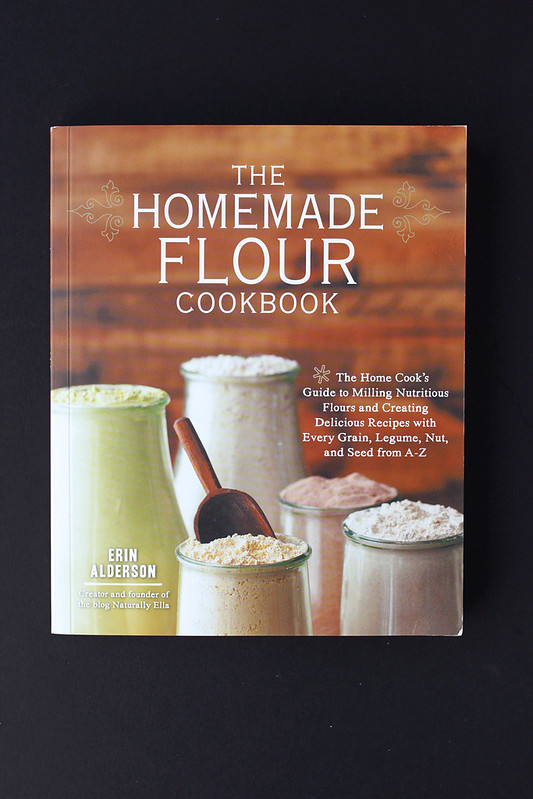
Until I received The Homemade Flour Cookbook from Erin Alderson, the thought had never really occurred to me to try making my own flours at home. I know what you are thinking – ‘flour? you are gluten-free, what do you want with a book all about how to make homemade flour?’ (or something along those lines, am I right?) I too honestly thought that there may be a recipe or two for me in here, but there are several chapters filled with wonderful tutorials and tips on making flour from gluten-free grains to legumes, seeds, nuts and so on.
This wonderful book is an in-depth guide to a variety of nutritious flours, milled right in your own kitchen plus a wide range of tasty recipes to create with your homemade flours. The possibilities are endless and the delicious dishes are a testament to the amazing things you can do with homemade flour.
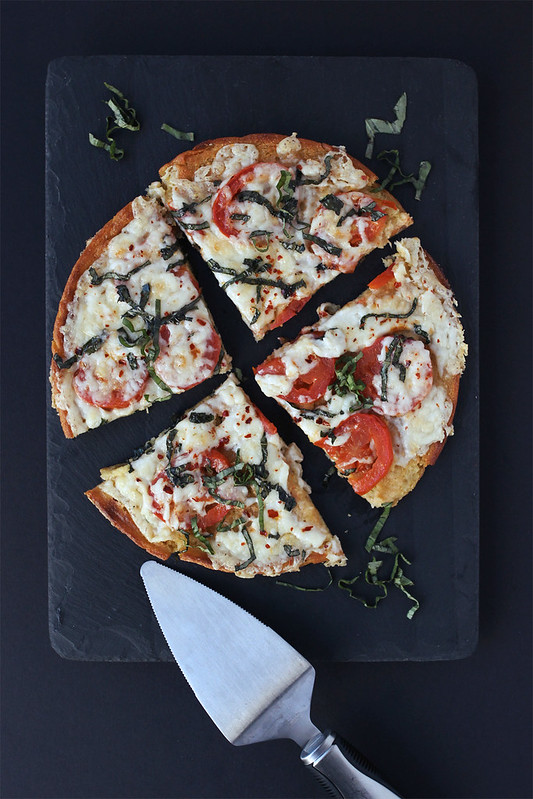
It is no secret I love soccas! I have previously shared recipes here and here. Soccas are just amazing. They are a pancake or crêpe of sorts, made of chickpea flour. Served hot and crispy, this chickpea pancake is a quintessential street food found in Nice, France. Many times it is browned or even blackened around the edges, and it has an almost custard like, soft and tender inside. Serving one as a pizza is quite brilliant and although the texture is slightly different from a traditional dough, it is delicious in it’s own right and it’s a totally unique way to shove pizza toppings into your face!
-
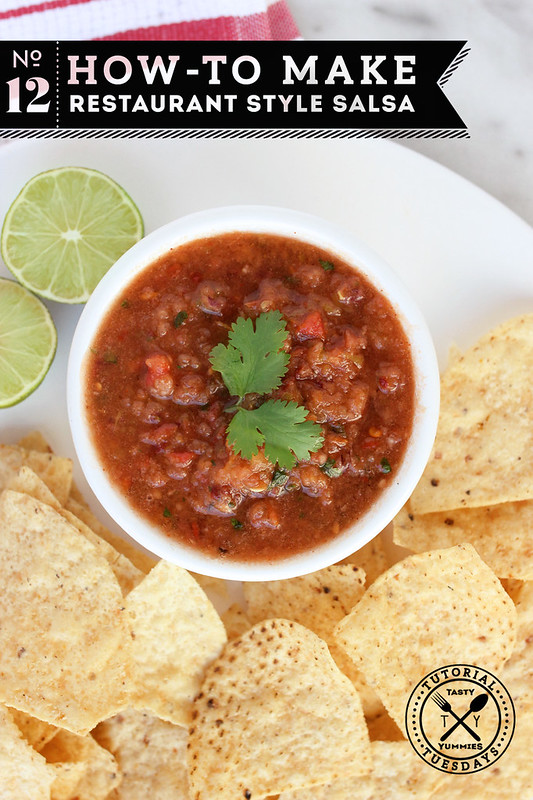
How-to Make Restaurant Style Salsa
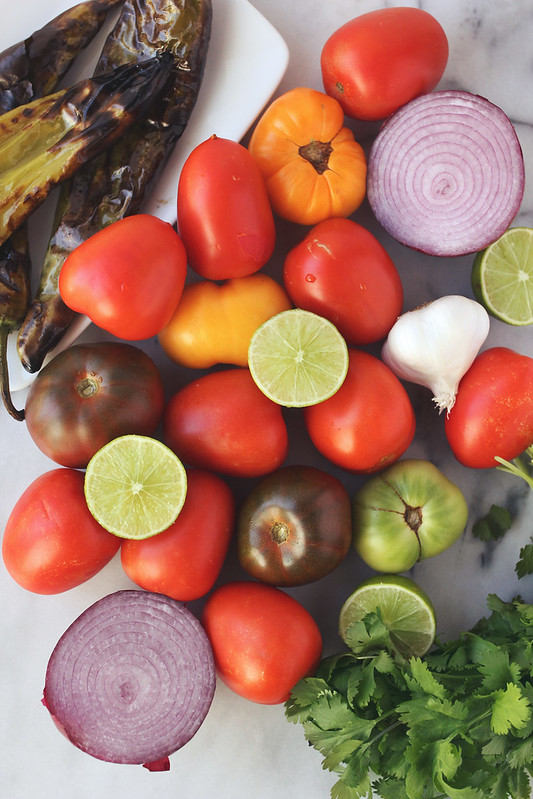
As summer’s end nears, we are left with the last few bites of the season to savor. I feel like a bit of a hoarder whenever I go to the markets this time of year and I see the beautiful heirloom tomatoes, the beautiful Hatch chiles, fresh herbs and all the other goodness. I can’t help myself. I want it all.
What better way to enjoy the final tastes of summer than a perfect fresh homemade salsa. For me, though I love a chunky, classic-style pico de gallo, what I don’t love is the amount of time all of the chopping takes. This restaurant-style salsa is a smoother, classic salsa and it is a cinch to whip up.
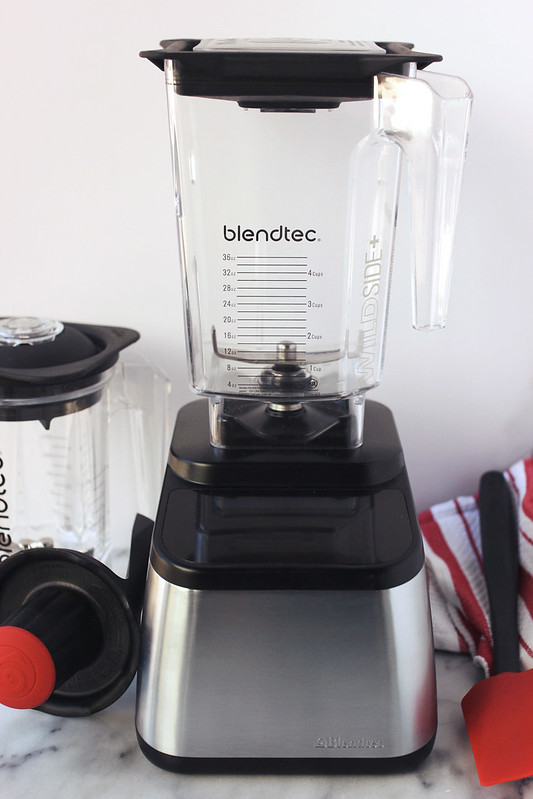
When Blendtec offered to send me one of their beautiful high-powered blenders, I immediately became excited about all of the possibilities. The middle of the road KitchenAid blender we got for our wedding 7 years ago, was nearing the end of it’s life and though it’s made literally hundreds and hundreds of smoothies, it also never overly impressed me, it was no powerhouse and it definitely couldn’t handle anything too thick.
-
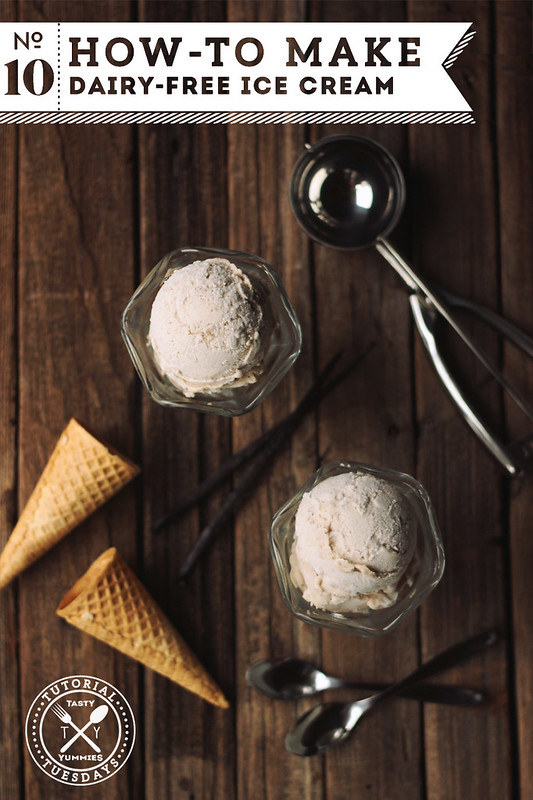
How-to Make Dairy-Free Ice Cream

I have to say, I have made and had dairy-free ice cream many times before, but it has never as good as this. I received a copy of Dairy-Free Ice Cream: 75 Recipes Made Without Eggs, Gluten, Soy, or Refined Sugar from Kelly Brozyna of The Spunky Coconut and it has forever changed my dairy-free ice cream eating ways! Not only is this book insanely beautiful, but Kelly has us covered on every ice cream and frozen treat you could ever dream of! This cookbook is loaded with 75 amazing recipes, each and every one totally dairy-free and gluten-free.

For this week’s Tutorial Tuesday post, I am teaming up with Kelly to give you a quick how-to on making the perfect dairy-free ice cream, plus a simple recipe for classic vanilla. In the Dairy-Free Ice Cream cookbook, Kelly uses her fool proof method to dairy-free ice cream – sharing her versions of classic favorite flavors like Vanilla, Chocolate, Rocky Road, Salted Caramel, Strawberry, Butter Pecan and more. But, the real treat is the collection of unique and innovative flavors, like White Chocolate Goji Berry, Gingerbread Cookie Dough, Saffron and Rose and so much more. As if all that wasn’t enough, you’ll also find frozen yogurt, sherbet and sorbet and she even shares incredible recipes for ice cream cakes, sandwiches and popsicles, plus there are grain-free cookie bowls, brownies, sauces and toppings and more! All made without eggs, dairy, gluten, soy or refined sugar. It’s incredible really. A summertime frozen miracle!

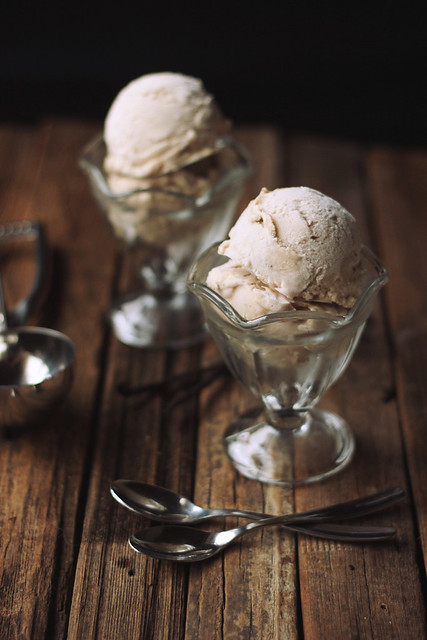
Below you will find a brief tutorial to get you started making the best ever vanilla bean ice cream, my version of Kelly’s classic vanilla. I am keeping this tutorial super simple and to the point, but, for more in depth information about the various ingredients, notes and tips on freezing, storing, tools and lots more – check out Dairy-Free Ice Cream.
Read the rest of this entry »
-
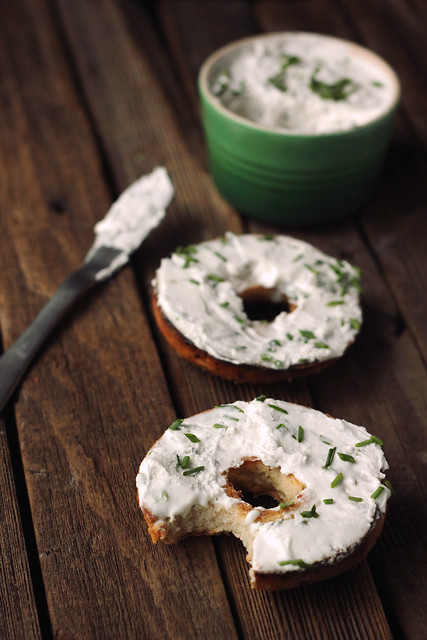
How-to Make Dairy-Free Cultured Cream Cheese

This tutorial series has been a really fun way for me to share with you guys some of my favorite DIYs and How-to’s. But, I have also really enjoyed the challenge of exploring and conquering things I have long been dreaming of. Last post it was the yogurt and this time it’s this cream cheese.
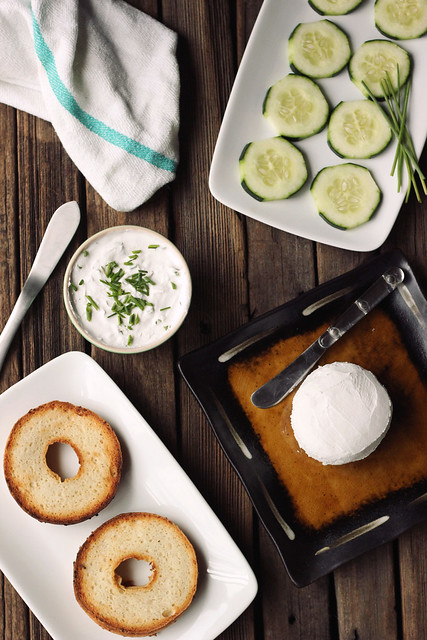
Since I have almost entirely cut dairy out of my life, cream cheese is one of those things I just haven’t been able to find a good substitute for. Most of the store bought alternatives are loaded with soy, preservatives, thickeners and other weird stuff. Not my scene at all. Once or twice a year I like to treat myself with some of the amazing gluten-free and vegan bagels from Rising Hearts Bakery in LA and I am so happy to now have an amazing homemade dairy-free cream cheese to enjoy with them.
-
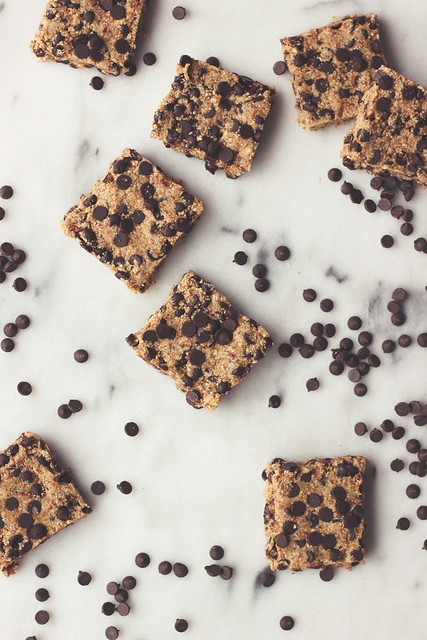
Raw Chocolate Chip Cookie Dough Bars (made from almond milk pulp)
Every week I make at least one quart of homemade almond milk, if not more than that. For a while now I have been taking the leftover almond milk pulp and immediately placing it in the dehydrator and drying it out, then I give it a few quick pulses in the food processor before add it to a jar in the fridge.
I usually just add it to granolas or cereals, sometimes muffins or other baked goods, but mostly I have just been collecting a ton of this almond pulp flour, waiting to come up with the perfect use for it.
These raw chocolate chip cookie dough bars are the answer!! I have been making something kinda similar for a while now, with blanched almond flour and I would usually make a single serving in a bowl. A simple way to handle those sweet cravings at the end of the day. That is, until I came across this recipe on Pinterest, which gave me the idea to make it into bars. Which is also when I thought this would be the perfect use for all of the dehydrated almond pulp.

These cookie dough bars are grain-free, egg-free, easily made vegan, they are safe-to-eat raw, and they taste just like the real deal, usually made with eggs and butter. Now, I generally prefer to eat dairy-free, but since I am lucky to not have a dairy intolerance or allergy, I can be a bit lax on this. Good grass-fed organic butter is one of those things I keep on hand for special uses. If I am having a fried egg, I want it cooked in a teaspoon of butter, grilled corn just isn’t the same without a little melted butter and so on. But generally I prefer to bake dairy-free most of the time. That said, I have found that these bars are amazing and taste most like the real thing when they are made with some good quality grass-fed butter (local if you can find it) and for me, it is a fine time to indulge a little. I can tell you though that they are also insanely delicious with softened coconut oil, which I have made several times and really enjoy, as well. If you are vegan, you can also easily substitute your favorite vegan butter.
-
How-to Make Coconut Butter
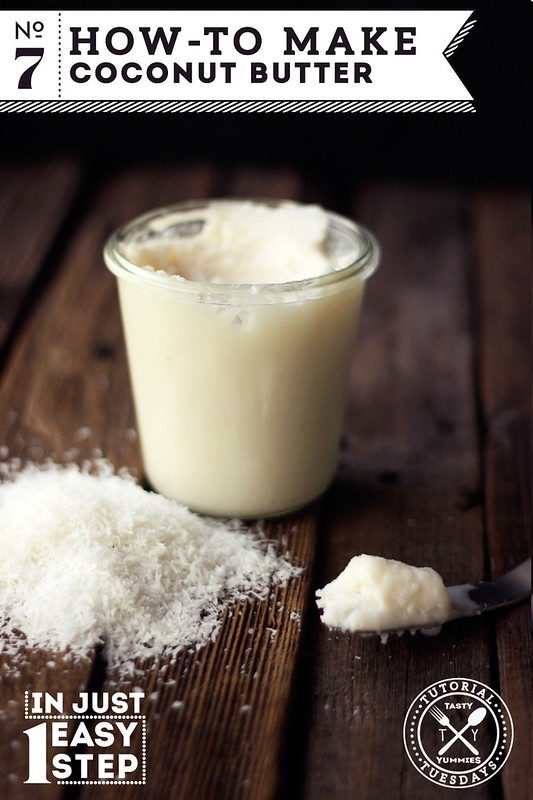
This is a super easy tutorial this week you guys, literally One Step. One ingredient.
How-to Make Coconut Butter.
What is Coconut Butter?
Coconut butter is basically just ground up coconut meat that has been processed until it is smooth and creamy. The same idea as nuts being used to make nut butter. Though it isn’t quite as creamy as a store bought creamy peanut butter and the texture can vary.
What is the Difference Between Coconut Butter and Coconut Oil or Coconut Cream?
Coconut butter includes the meat of the coconut and coconut oil does not. Coconut oil is used more as typical oil is, when cooking or baking, where coconut butter is more of a spread or dip, it could also be used in baking as nut butters would be.
Additionally, coconut butter is different from coconut cream which contains water. Coconut cream involves cooking down as much as 4 parts coconut to 1 part water, then straining out the coconut. Coconut cream is also what is found at the top of a can of full fat coconut milk. Coconut cream contains less water then coconut milk but coconut butter contains no water at all and there is no straining involved, the meat is left in.
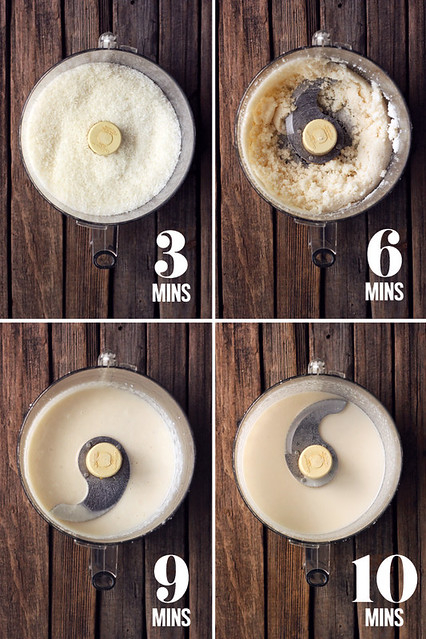
How-to Make Coconut Butter:
Start with a quality brand of unsweetened organic shredded dehydrated coconut. Unsweetened coconut flakes will also work. Not fresh, not low fat, not sweetened, not toasted. Just regular ‘ol unsweetened flaked or shredded coconut. Use somewhere between 2 cups and 4 cups of shredded coconut, depending on the size of your food processor or high speed processor blender. 4 cups of shredded coconut will make about 1 cup of coconut butter. I find in my 14-cup food processor, that using 3 or 4 cups of coconut works much better than just 2 cups.
-
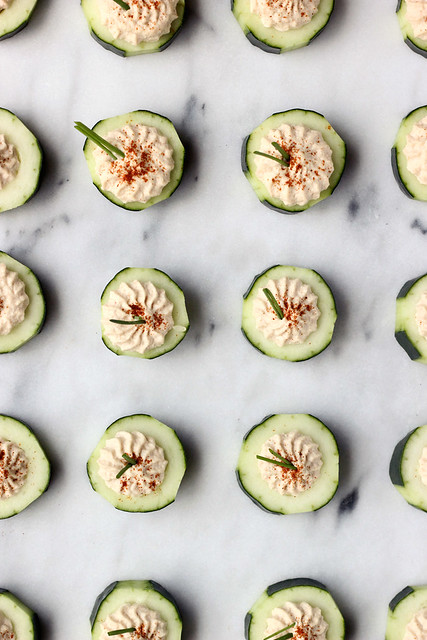
Sprouted Hummus Cucumber Cups


One of my favorite things about blogging has been connecting and making friends with people who I not only have so much in common with but who I also adore, so much, too. Who knew it was possible to have, what some people would consider to be “perfect strangers”, as some of your most favorite people and some of your closest friends.
Since most of us bloggers are scattered all over the
countryworld, it would be nearly impossible to get everyone together to throw a party in someone’s honor – so the next best thing is a virtual party and today a bunch of us teamed up to do just that! In honor of our lovely friend Ella, of Pure Ella today we are hosting a virtual baby shower for and you are all invited. Ella is one of the most sweet and inspiring people I have met, Ella’s energy, happiness and positivity makes me smile every day and I am so proud to call her a friend, despite the fact that we haven’t even met in the real life. Ella’s beautiful site is filled with delectable, swoon-worthy recipes, that are always so perfectly photographed. Plus, besides all of the yummy goodness, she is always sharing fun creative ideas for healthy living, beauty, home, crafts and more.I am so happy to be able to get together with some friends today, albeit virtually, to celebrate Ella and her family’s pending new addition.

Whether you have an upcoming baby shower you are attending or you are planning a baby shower, a bridal shower or even your mother’s day brunch – there are tons of incredible ideas here for you to knock your guests socks off. The best part is, every single recipe is both gluten-free and vegan, too!I am so honored to be sharing my recipe amongst this amazing group of talented bloggers, so please after you check out this recipe, head over to each of their sites and check out their amazing recipes, too. Of course, be sure to pin them, share them, print them out, memorize them or whatever you’ve gotta do – these recipes are all so perfect for entertaining, so I know they will all come in handy at some time or another, whether for an upcoming baby shower, bridal shower or another occasion.
-
How-to Make Cauliflower Rice
How-to Make Cauliflower Rice
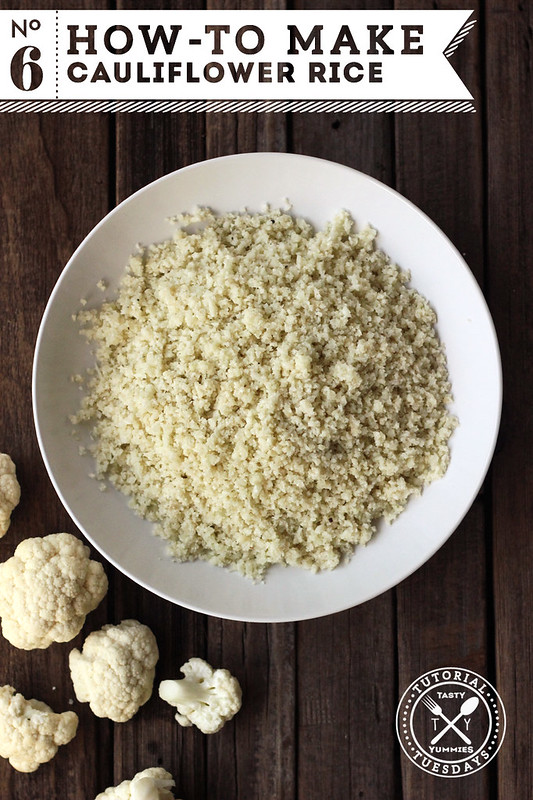
Use this simple step-by-step and learn How-to Make Cauliflower Rice! It’s super simple. Cauliflower rice is a staple around here! It’s been a favorite of ours for years now and although it cannot completely replace traditional rice in all recipes, it is truly wonderful when you are enjoying a dish that calls for a bed of rice – curries, stews, sauces and so on. Usually the rice is a nice way to have a more filling meal, to offer some texture and a way to soak up some of the extra sauce, so cauliflower rice is such a perfect substitution for these dishes and it is so incredibly easy to make. Done in about 10 minutes, or less.
-
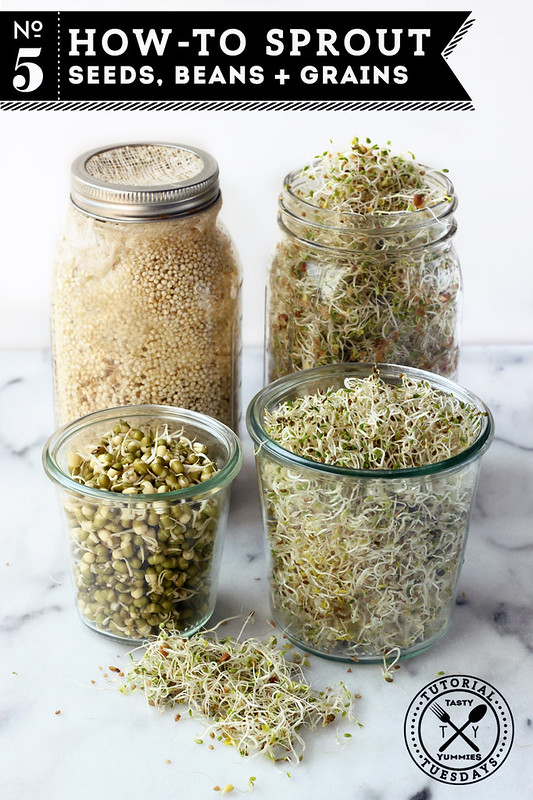
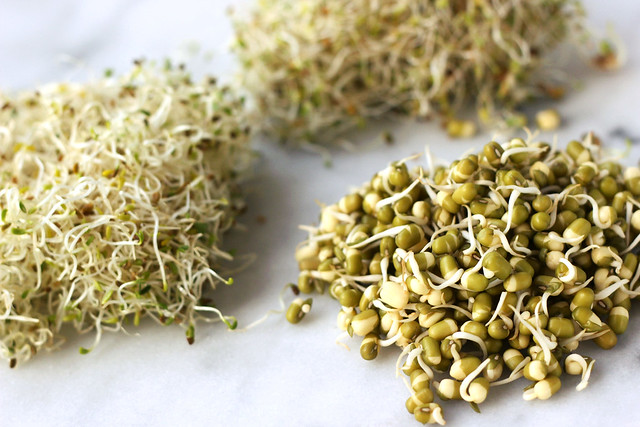
How-to Sprout: Seeds, Beans + Grains
Much like making homemade almond milk, which I have done for years now, preparing sprouts at home, has now become a weekly thing for me. I absolutely adore sprouted foods and all of their many benefits. But, I have to be honest when I tell you the sprouts they sell at the store creep me out, a bit. Knowing just how short their shelf life is, it makes it hard for me to believe they are fresh and that their exposure to harmful bacteria has been limited. I would much prefer to make my own at home, where I know how fresh they are and exactly how they were handled. I started doing this late last year and I have become obsessed.
Sprouting is a way of creating “living plants”, loaded with nutrients and vitamins such as Vitamin C, B E and carotene. Some believe sprouted foods contain up to 15 times as many nutrients as their unsprouted counterparts. Sprouting also helps the absorption of minerals due to their ability to be better digested. Some people refer to sprouted foods as “pre-digested”, for this reason.
Sprouting takes time, but it’s much more of a waiting game, it doesn’t require a ton of work. Sprouted foods simply requires you to have patience and to be paying attention, tracking their sprouting time and making sure to tend to them, when needed. That’s about it.
Why Sprout?
As we discussed in both the nut butter and nut milk posts – many nuts, seeds, legumes and grains contain natural chemicals that protect them while growing, both from sprouting prematurely and also from predators. These protectors also act as enzyme inhibitors to us, meaning we get much less of the crucial nutrients from these foods than we should be. Plus, this “armor”, of sorts, makes digesting them much more difficult. Soaking these foods releases these chemicals, helping you to absorb your food’s essential minerals and nutrients. Additionally, by soaking the nuts with the removal of these nutritional inhibitors and toxic substances, the flavor and taste is much more ideal and appealing.(read more in depth about these chemicals and why we soak, here)
So, we are back to the soaking idea again. Soaking is not only necessary for sprouting to occur, but we are also unlocking the full nutritional potential of these foods, as we did with the nut butters and nut milks. After soaking, when that natural protective armor has been removed, the sprouting process can then occur. So basically, if soaking is the first step of increasing the nutritional benefits of these foods, then sprouting is the incredible finishing move to creating the perfect nutritional superfood out of something that would otherwise leave us feeling bloated and tired, due to the strain they would typically put on our digestion.
Sprouted foods, also known as “activated foods” are incredibly nutrient dense foods, they encourage production of healthy bacteria that aids in our digestion and in turn, boosts our immunity. Sprouts are great on salads, on top of soups or stews, in stir fries, inside of wraps or sandwiches, in smoothies – really they are great in any dish that you want to add a nutritional boost to.
What Can you Sprout?
Most seeds, legumes, grains and some nuts will sprout, but be aware some will not. Because many nuts you find in the stores have been pasteurized or treated with heat in some way, they aren’t technically raw and although soaking can activate and allow us access to their nutrients, sprouting likely won’t happen. Oftentimes, when I am simply looking for traditional sprouts, I will buy premixed ready to sprout blends of organic seeds and legumes exclusively meant for sprouting. It gives me a nice wide variety and I know that, since everything in the blend is meant for sprouting, it will do just that. See the bottom of this post for pre-made sprouting blends that I recommend. For the step-by-step photos, I used this organic blend, Spicy Salad Mix, which contains lentils, alfalfa, red clover, radish and black mustard seeds.
Once sprouted, you can also cook grains and legumes, as you normally would. Sprouted quinoa cooked in place of regular quinoa, is one of my favorite things as are sprouted lentils. Once sprouted, grains and legumes not only cook quicker than their dried counterparts, but they are, as you now know, much easier to digest and taste much better, as well.
Read the rest of this entry »
-
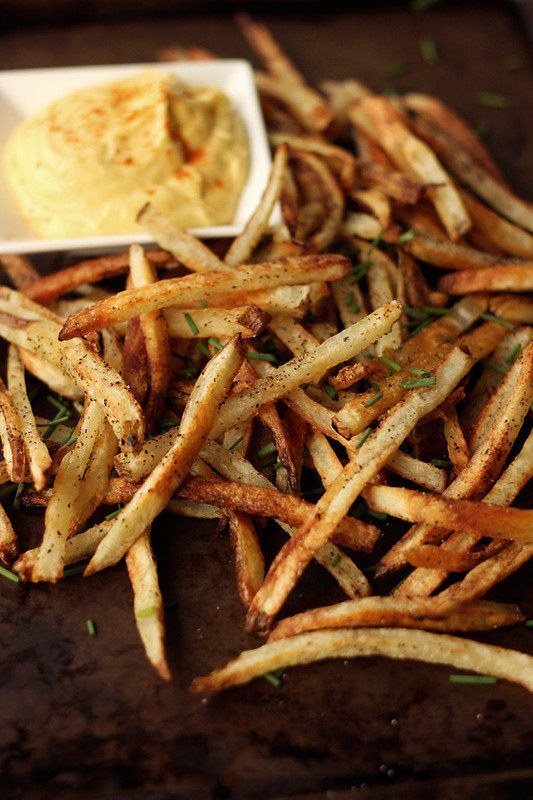
How-to Make Perfect French Fries

I have a dirty little secret that I have been keeping from you guys. I am not proud of it. But… I have a love for french fries that cannot be tamed. There, it is finally out and in the open.
I know, I know – I eat so healthy, I carry on about how important it is to eat your greens, blah blah. I don’t care, we all have our vices and I love fries!! No one can ever take that away from me. Everything in moderation, right?
That said, having a gluten intolerance means that many times eating fries at a restaurant is out of the question, whether because the fries are coated in some sort of flour starch or because they are cooked in a shared frier, doused in denatured, hydrogenated vegetable oils. Regardless of the gluten intolerance, I also prefer to not eat foods that have been cooked in poisonous oils that also cooked battered or breaded foods. Most fries are. It sucks.
Besides that fact, we all know what makes the fries so darn tasty and addicting, it’s the fact that they take a nice long, deep swim in a huge vat of oil. Fat makes us happy. But it’s important that we are eating the right fats and oils.
OK, so the honest truth is that I generally try to keep this addiction in check, I don’t eat fries nearly as often as I would like to. But, if you have been reading this blog for sometime, you know that I truly believe in moderation. With the exception of the foods that are just not good even in moderation, the make me physically ill or that I know are really, really bad for me – I do like to indulge on occasion and eat those certain special foods that are reserved for very special rare occasions. I think this is important part of allowing myself to eat this way. Read the rest of this entry »
-
How-to Make Whipped Coconut Cream
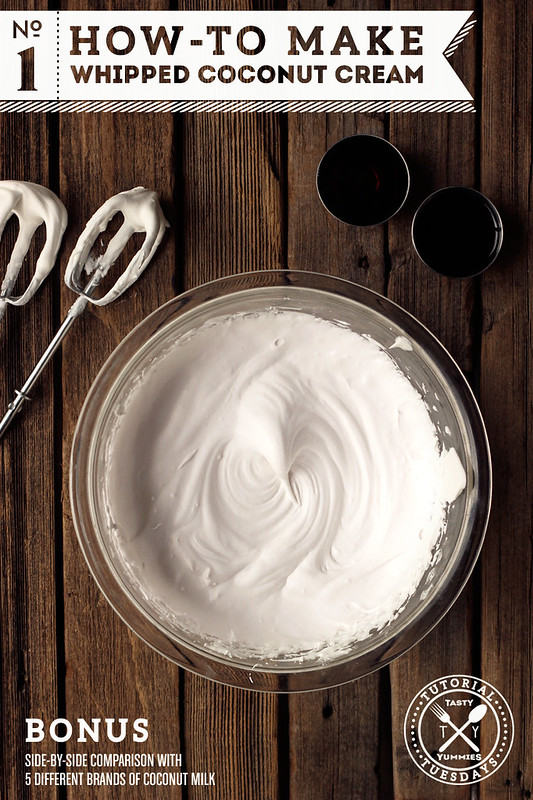
Over the past few years, whipped coconut cream has become one of my favorite tricks I’ve come up with in the kitchen. I love whipping up (literally) a batch for dinner guests, not even bothering to tell them it isn’t heavy whipped cream. I love how amazed people are when I tell them that it’s totally vegan and just 3 simple ingredients. I have shared how to make this glorious stuff within several of my recipe posts before, but I thought what better way to kick off my new Tutorial Tuesdays series than with this favorite how-to!
Plus, since canned coconut milks can vary drastically, I wanted to give you my comparison of 5 different coconut milk brands. You’ll be shocked at how different each one is. Because of the vary degrees of whipability (is that a word?) – the results and the work can be quite challenging if you choose incorrrectly. Due to the different stabilizers in each brand and sometimes even where the coconuts originate from, these can cause the much needed separation of the coconut cream from the water to just not work – no matter what you do.
Outside of the varying brands, I have also read that extra air in the can, may also cause less separation to occur. This isn’t something I have tested too much myself, but if you want to shake cans of coconut milk at the store, I say go for it. You are listening for little to no swishing around of the liquid in the can.

Whipped coconut milk is creamy, rich and thick, much like traditional whipped cream and the coconut flavor is very faintly there. Not nearly what you would expect it to be. The best part about homemade whipped coconut cream is all of it’s many uses and how much you can vary the flavor. You can add raw cacao powder for a chocolate cream, muddle some fruit and fold that in, maybe a squeeze or two of your favorite citrus, or even just a good quality all natural extract, you can even add a bit of your favorite liqueur. It would be hard to choose my favorite way to customize my homemade whipped coconut cream, but the easy part is actually making it. So, let’s get to it. Read the rest of this entry »
-
How-to Make Homemade Essential Oil Insect Repellent Spray
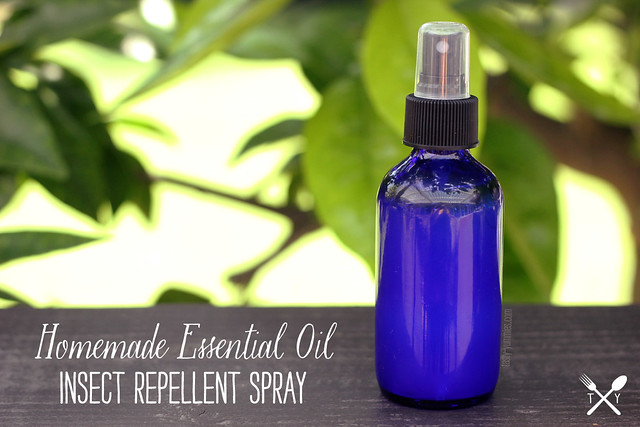
I am not sure why, but I seem to be one of those people that always gets bit up by bugs, even when no one else is. I can be in a group of 5 or 6 other people and I will seemingly be the only one. I must taste really good. It must be all that healthy, real food! After getting bit up pretty good, the first few weeks of summer, I was determined to do some research and make my own homemade essential oil insect repellent spray.
There are many essential oils, known for being excellent natural insect repellents.Here are just some of them: Citronella, Clove, Lemongrass, Lemon Eucalyptus, Cedarwood, Rosemary, Tea Tree, Eucalyptus, Cedar, Catnip, Lavender, Peppermint, Basil, Rose Geranium, Cinnamon Oil, Thyme, Lemon, Orange, Pine
Many of these different essential oils work especially well for specific pests, according to the research I have done, here are some of the more well known pests and essential oils that work as repellents for them:
Mosquitos – citronella, lemon eucalyptus, peppermint, lemon, eucalyptus, catnip, basil, clove, thyme, lemongrass, geranium, lavender
Fleas – cedarwood, citronella, eucalyptus, tea tree oil, lemongrass, lavender, orange, pine,
Ticks – rose geranium, juniper, rosewood, thyme, grapefruit, oreganoSome studies have also shown, additional effective ingredients include: Neem Oil, Soybean Oil, Vodka, Garlic and Vanilla Extract
-
How-to Make Homemade Raw Almond Milk (Vegan)
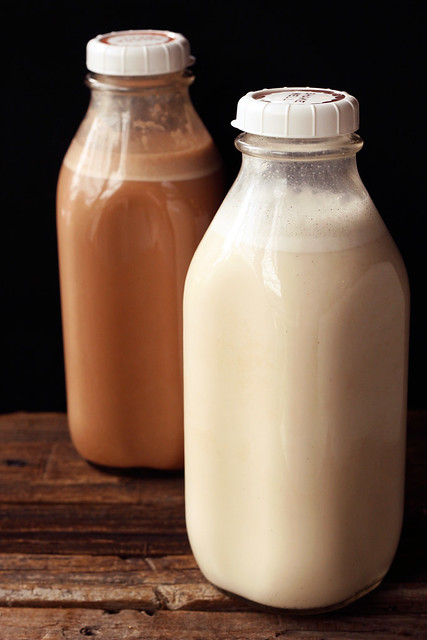
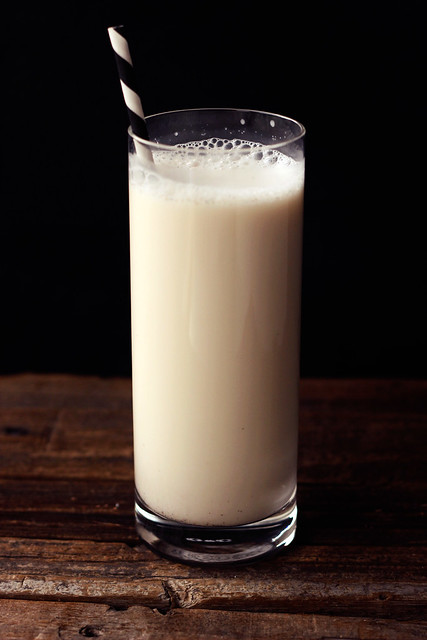
I have been meaning to make homemade almond milk for sometime now. I absolutely love almond milk and tend to buy it often. The thing I really dislike about it (as with most foods from the grocery store) is that a lot of times it has added ingredients that really just don’t seem to need to be in there, even the organic stuff. Though that tends to be the story of most of the food products people buy. It’s all so over-processed and filled with unnatural junk. These are all reasons why I’ve changed my lifestyle and rarely consume store-bought processed foods, I try to make everything I can myself and eat as many fresh foods as possible.
I came across a few really great recipes and finally took the time to experiment and make my own homemade almond milk and now that I have, I will never buy it again. This recipe is simple, fast (besides soaking time) and it requires only a few ingredients. It is creamy, sweet, nutty, rich and full of luscious nutrients, plus it is great for those on dairy-free or raw diets and vegans. It’s great as is, in smoothies, served over your favorite granola or cereal, heated up with chai spices or chocolate, etc.
In addition to all these other great things, it’s also much cheaper than the almond milk you buy at the store and it isn’t loaded with all that scary junk like carrageenan, gums, etc. Bonus if you are into chocolate milk – try adding 1-2 tablespoons of raw cacao powder or unsweetened baking cocoa when blending.

[print_this]How-to Make Homemade Raw Almond Milk
- 1 cup whole raw organic almonds (look for unpasteurized if you can)
- 4-6 cups water (you can use more depending on how light you want it, I used about 5 cups)
- 1 teaspoon vanilla or 1 vanilla bean split open
- 2-4 tablespoons local raw honey* (you could also use maple syrup, dates, stevia or whatever sweetener you prefer)
- A dash of sea salt (I prefer Pink Himalayan Salt)
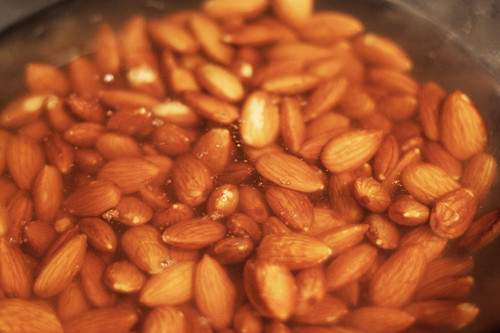
Soak almonds and vanilla bean (if you are using one) for at least 6 hours, preferably overnight.
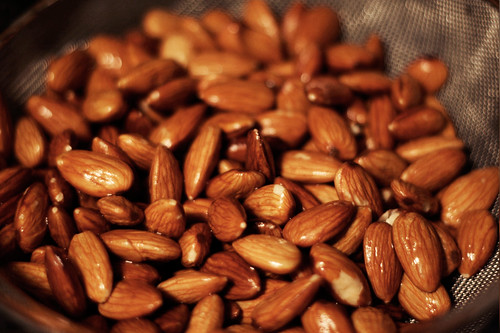
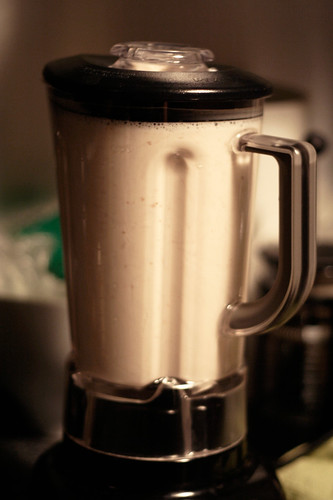
Discard soaking water and rinse almonds and the vanilla bean.Place soaked almonds, the whole soaked vanilla bean chopped up or vanilla extract, honey (or other sweetener), a dash of sea salt and 4-6 cups of water in a blender. Cover and blend on high for 1-2 minutes. It will be milky and have a bit of foam on the top.
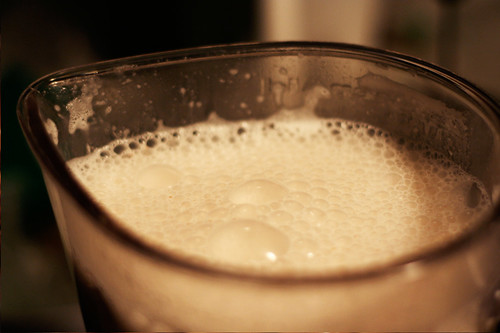
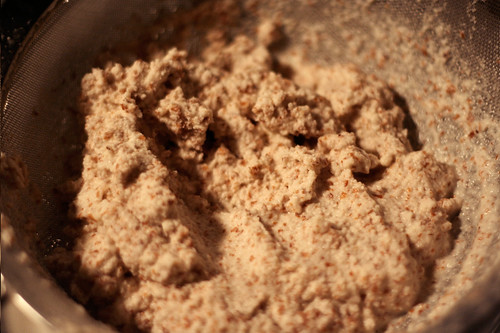
Strain milk through a nut bag, doubled up cheesecloth or a fine mesh strainer. You will then be left with almond pulp that can be saved and used for spreads, butter, crackers, cookies, crusts, etc. You can also freeze the almond pulp for later use.
Serve or store in a covered jar or pitcher in the refrigerator, it’ll be good for about 5 days.
Try adding 1 tablespoon of raw cacao powder or unsweetened baking cocoa when blending for delicious chocolate almond milk!!
* You can also leave out the sweetener if you wish to have it be unsweetened
[/print_this]EDIT 9/2013 – I realized I was using far too many almonds than what was needed so I changed the recipe from 2 cups of almonds to 1. Still just as good and way cheaper to make!