
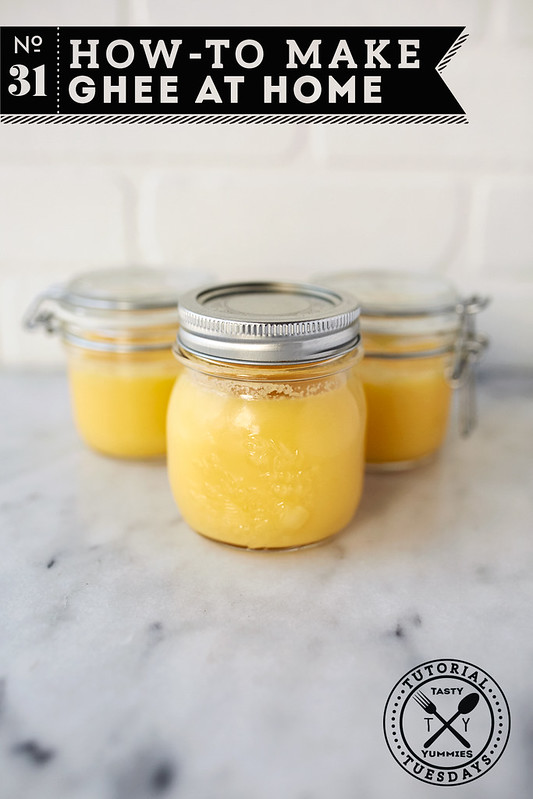
Ghee is a kitchen staple around here. For the longest time I was buying it, and I still do in a pinch, but as I discovered the cost efficiency and simplicity of making it at home, I have made this part of my DIY repertoire.
For those unfamiliar, ghee is a clarified butter, of sorts, that has been cooked down for some time, removing any moisture, milk solids and impurities. What remains is a pure and delicious butter oil, that has turned a beautiful golden color, it’s taste and flavor are slightly sweet and nutty. Ghee brings an aroma, taste and flavor a lot like butter, but even better. The difference between clarified butter and ghee is ghee’s lengthier cooking process, to remove all the moisture and the milk solids are browned in the fat and then strained out, bringing the slightly nutty taste. Ghee has a longer shelf life, due to all the moisture being removed.
Ghee is a wonderful option for those who are lactose or casein intolerant and want to enjoy the taste of butter. Ghee is also clearly a much better option than those scary hydrogenated oil-filled margarines and other highly processed vegan spreads. It does not burn, unless heated excessively, so it’s a wonderful option for stir fries, sautéing, frying, roasting, sauces, ettc. It’s also delicious as a spread, on toast, pancakes, scones, over rice and more. It can also be used on the body, as an oil for massage, as a base for healing herbal treatments, for burns, skin rashes, etc.
In India, ghee is a sacred and celebrated symbol of nourishment and healing, especially in daily rituals. It is also used in every day cooking. Ayurvedic physicians celebrate this liquid gold as being important to health and well-being, balance and vitality. If you don’t wish to make your own, ghee is usually found in the ethnic section of any big grocery store, in most Indian/South Asian stores or online.
Always make ghee with high-quality grass-fed organic butter. Cheap butter contains a lot of water and chemicals and it tends to burn faster. Due to the reduction and straining process, always start with 25% more butter than the amount of clarified butter desired. 1 pound of butter = approximately 1 1/2 cups ghee.
The Benefits of Choosing Ghee:
Rich Butter Taste without the Lactose or Casein. Made from butter ghee has the buttery flavor, but the milk solids have been removed, so if you are lactose or casein free, enjoy without issue.
Ghee has a high smoke point. 485ºF. You can cook and fry with ghee and it will not burn nor will it break down into free radicals, like so many other cooking oils can.
Ghee doesn’t spoil easily. Without the presence of milk fat and water, this makes ghee shelf stable. If you desire, it can be stored at room temperature rather then refrigeration. Ghee will last a couple months in an air-tight container at room temperature. If you aren’t sure if any moisture or milk solids remain, you can certainly play it safe and store in the fridge, to maximize it’s shelf life. That’s generally what I do.
Ghee is rich in fat soluable vitamins A D and E. If you have gluten sensitivity, leaky gut, IBS, Crohn’s or certain pancreatic disorders, you may have a problem absorbing vitamin A. By using ghee for cooking, and as a replacement for butter, you can increase your intake. Vitamin D can be made in the body, after exposure to sunlight, but obviously in the colder winter months is can be challenging for us to make enough. Ghee benefits the body by improving moisture and contains vitamin E, which is an antioxidant whose role is to repair damaged skin, balance hormones, improve vision and help to balance cholesterol. Fat-soluble vitamins are absorbed with fat and stored in the gastrointestinal tract — and they are essential to maintaining a healthy metabolism and various biochemical functions in the body. (1)
Ghee is also rich is K2 and Conjugated Linoleum Acid. Studies show K2 is better for building bones than calcium and proper levels of K2 can help fight tooth decay, bone loss and aid in the fight against the calcification of arteries. CJA is antioxidant with anti-viral properties, when sourced from grass-fed cows. Studies indicate that it may help to reduce tumors, lower cholesterol and high blood pressure, reduce inflammation, and actually lower body fat.(2)
Like coconut oil, ghee is rich is medium chain fatty acids, which are quickly absorbed directly to the liver and used as energy. This quick burn can actually lead to weight loss.
Ghee and butter are rich in butyric acid, a short chain fatty acid great for protection against fungal infections and aids in colon health. It’s been shown to support healthy insulin levels, is an anti-inflammatory, and may be helpful for individuals suffering from IBS, Crohn’s disease and ulcerative colitis. (3)
Ghee Reduces Inflammation. Ghee’s levels of butyrate play a role in reducing inflammation in the digestive tract and throughout the body. In Ayurvedic practice, ghee benefits the body by creating a more alkaline system that overall reduces inflammation by reducing the leukotriene secretion and reducing prostaglandin in the body(4)
How-to Make Ghee
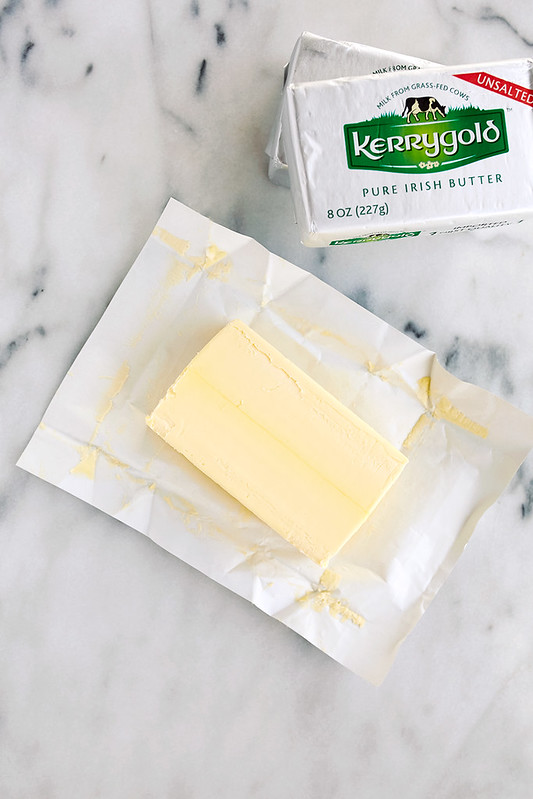
Start with at least 1 pound, of a good quality grass-fed unsalted butter. (I usually work with a pound to a pound and a half) I am using Kerrygold here, as this is widely accessible, Trader Joes, Whole Foods, Cost Co, Targer and most other grocery stores. Any high quality, pasture-raised organic butter will be best.
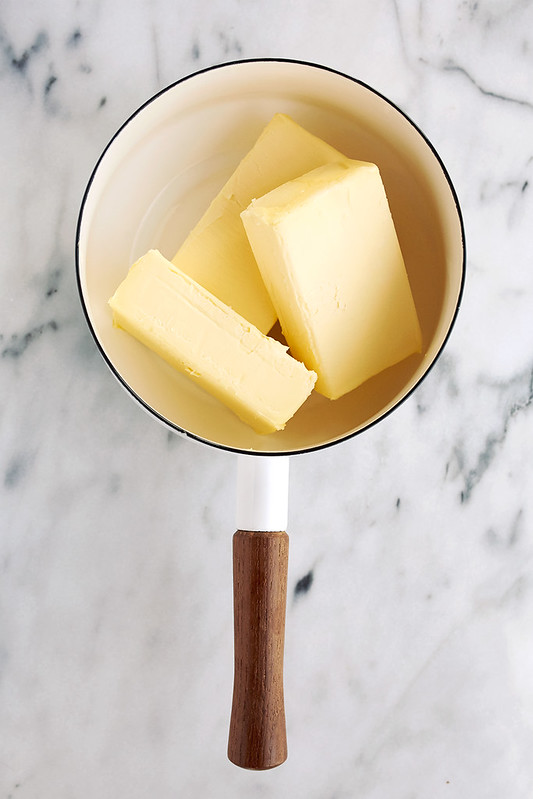
Add the butter to medium-sized heavy bottomed and deep stainless steel saucepan and place over a medium heat. Make sure the pan is clean and dry. Do not cover.
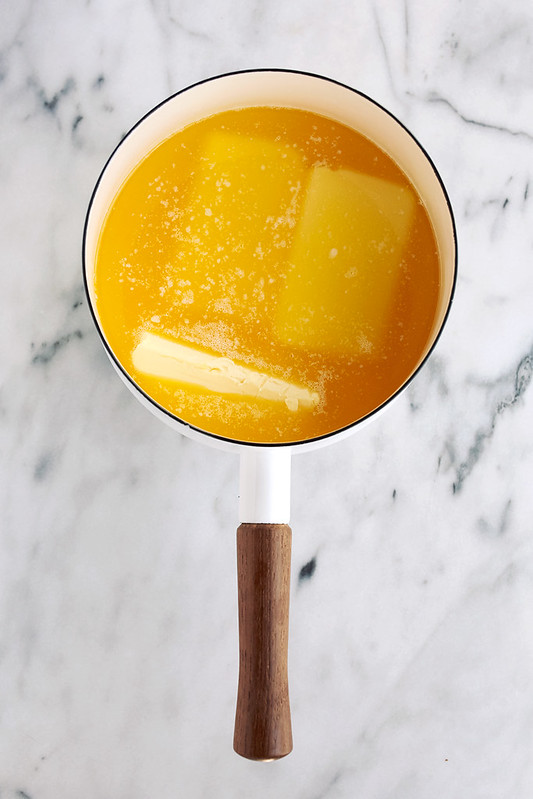
Gently melt the butter over the medium heat. Avoid stirring while it’s melting.
Once melted, the butter will continue to heat over the medium heat and begin to boil slightly, once bubbling reduce the heat to bring to a simmer. You want a steady bubble, but not to where butter is spraying out of the pan. Gently stir occasionally.
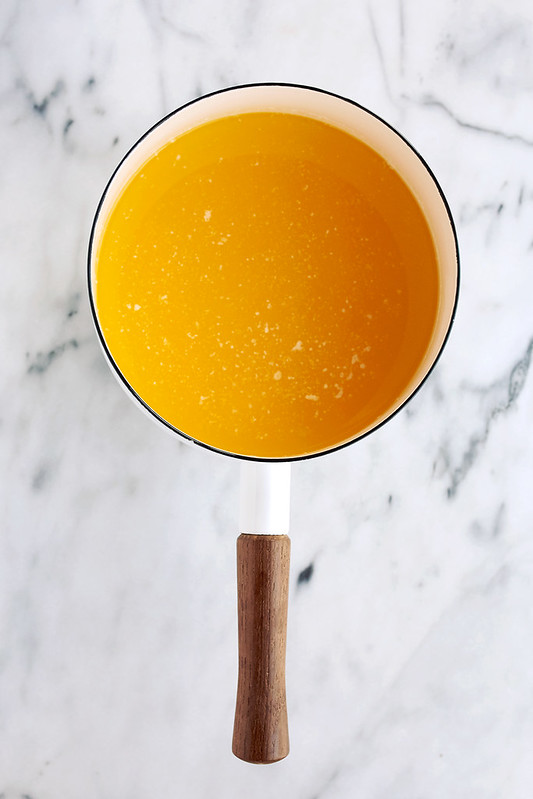
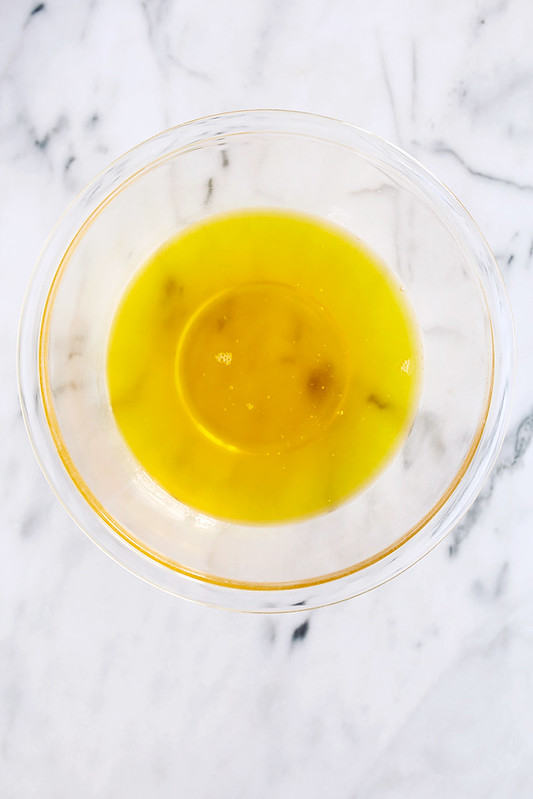
You will notice fairly quickly that it will start to separate into three separate layers. Foam will appear on top (this is the butter’s water content boiling off), milk solids will drop to the bottom of the pan and the clarified butter will float between the two. Cook for 25 to 30 minutes until completely separated, the middle layer should be fragrant, much more golden than when you started and clear. The bits at the bottom may start to brown slightly.

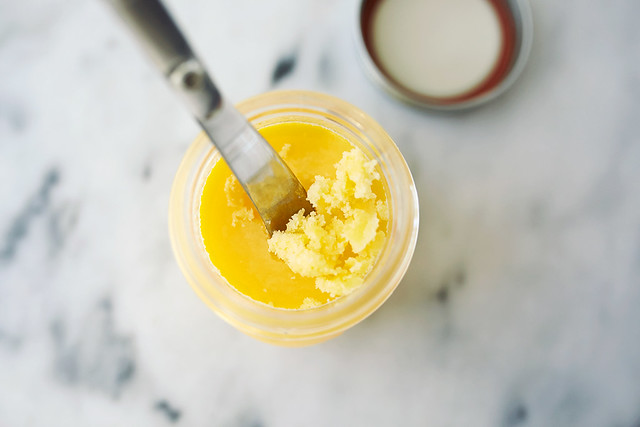
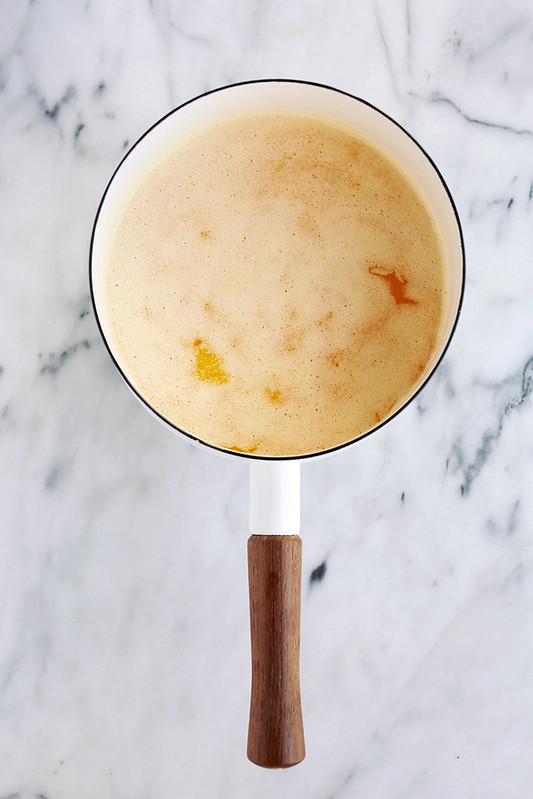
Remove the pan from the heat and skim off whatever is left of the top layer, until the ghee looks clean (minus the brown bits in the bottom). Return the pan back to the heat, a medium-low and cook another 10 to 15 minutes, until there is barely any bubbling and the bits at the bottom of the pan begin to brown and caramelize, just don’t let them burn. You will notice a rich aroma, slightly like popcorn. If those bits do burn, the ghee will have a burnt taste. Remove from the heat and let cool slightly.
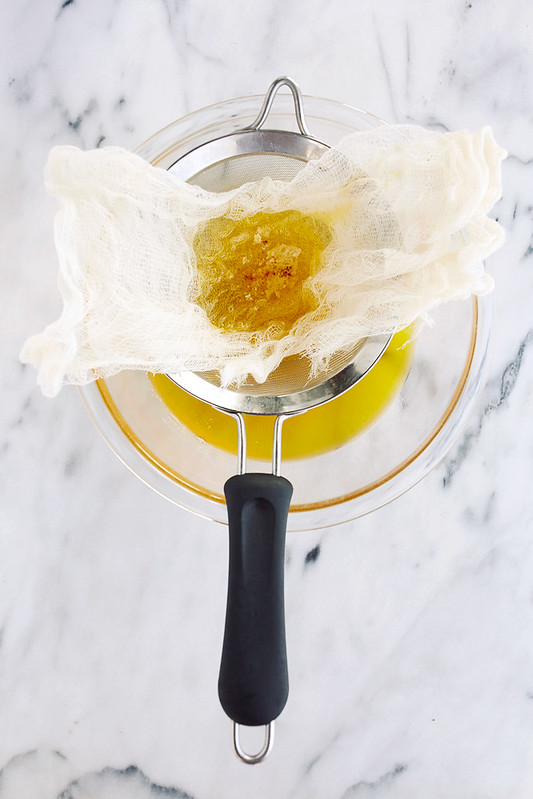
Do a final skim of any foam on top then carefully pour the golden ghee through a strainer lined with cheesecloth. Discard the bits*.
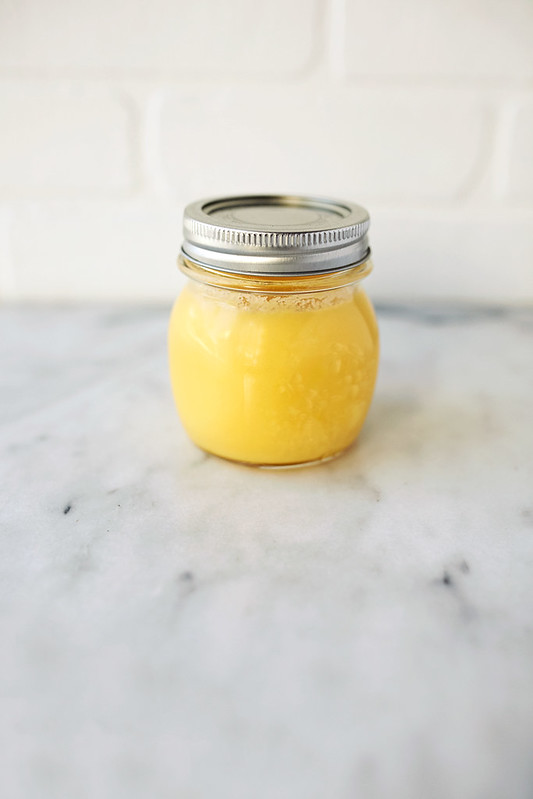
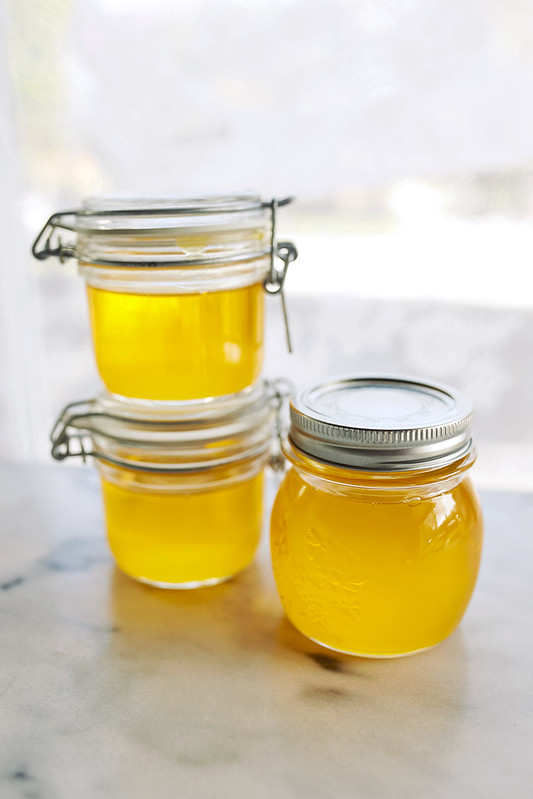
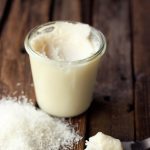
Carefully pour the golden oil into your clear, dry, airtight containers.
If you get all of the solids out, use clean and dry utensils you can store the ghee at room temperature for up to 2 months, if kept in an airtight container and moisture free. Otherwise store in the refrigerator, where it can be stored for 6 months up to a year.

How-to Make Ghee at Home
Ingredients
- 1 pound unsalted grass-fed butter, or more
Instructions
- Add the butter to medium-sized saucepan and place over a medium heat. Do not cover. Gently melt the butter over the medium heat. Avoid stirring while it's melting.
- Once melted, the butter will continue to heat over the medium heat and begin to boil slightly, once bubbling reduce the heat to bring to a simmer. You want a steady bubble, but not to where butter is spraying out of the pan. Gently stir occasionally.
- You will notice fairly quickly that it will start to separate into three separate layers. Foam will appear on top (this is the butter's water content boiling off), milk solids will drop to the bottom of the pan and the clarified butter will float between the two. Cook for 25 to 30 minutes until completely separated, the middle layer should be fragrant, much more golden than when you started and clear. The bits at the bottom may start to brown slightly.
- Remove the pan from the heat and skim off whatever is left of the top layer, until the ghee looks clean (minus the bits in the bottle). Return the pan back to the heat, a medium-low and cook another 10 to 15 minutes, until there is barely any bubbling and the bits at the bottom of the pan begin to brown and caramelize, just don't let them burn. You will notice a rich aroma, slightly like popcorn. If those bits do burn, the ghee will have a burnt taste. Remove from the heat and let cool slightly.
- Do a final skim of any foam on top then carefully and slowly, pour the golden ghee through a strainer lined with cheesecloth. Discard the bits.
- Carefully pour the golden oil into your clear, dry, airtight containers.
- Use in stir fries, sautés, it's great with roasted veggies,when solid spread as you would butter
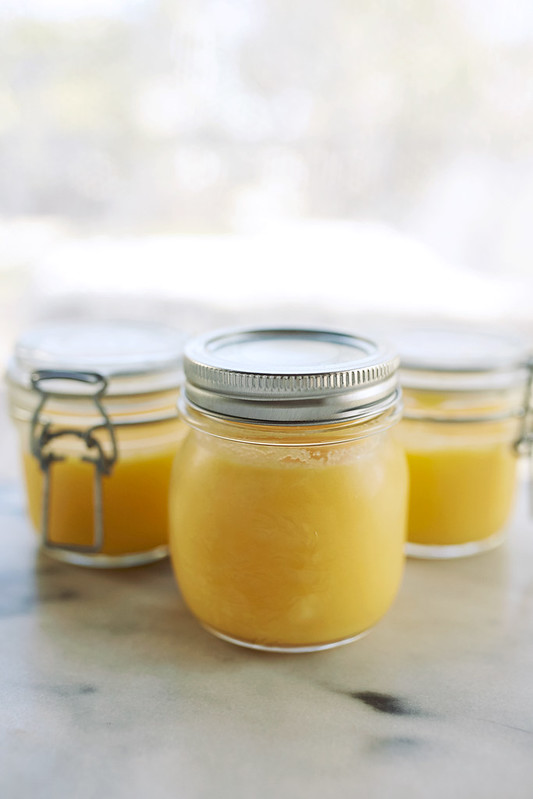
- STORAGE: If you get all of the solids out and used clean and dry utensils you can store the ghee at room temperature for up to 2 months, if kept in an airtight container and moisture free. Otherwise store in the refrigerator, where it can be stored for 6 months to a year. Once cold, ghee is solid, opaque and super smooth.
Notes


6 Responses
I am of Indian origin and making ghee at home has been a very old tradition.
The browned bits of milk protein should NOT be allowed to burn, this important – But they don’t have to be discarded. If one is dairy tolerant, these bits can be used in several ways.
Our grandmother would knead these into chickpea flour and make a delicious pancake. Similarly these could be mixed with raw honey and shaped into balls to make a fantastic crunchy dessert.
Sam, this is brilliant!! Thank you. Ive used the milk solids from clarified butter (unbrowned) as a spread before, but never thought to use the browned bits in this way. I LOVE IT. Thanks for sharing. I am going to update the post to include your brilliant tip. <3
Why after pointing out that you should use a grass fed organic butter did you show a package of Kerrygold butter which by my research and the news contains genetically modified organisms?
Yes I did say to choose grass-fed butter (obviously to also organic would obviously be ideal, but I choose grass-fed to be first and foremost important), which Kerrygold is. Kerrygold cows *may* get a maximum of 3% of their food from GM soy and/or corn? I mean I will choose this any day over the other alternatives at the store. I wanted to feature a widely-accessible brand, that readers all over could find easily. In a perfect world, I would have non-gmo, pasture eating cows in my own yard, that I would milk, make butter from and then make the ghee from that, for the ultimate in real foodie dietary perfection. That’s not real life. I can’t even find local grass-fed butter at all. Again this is how Kerrygold becomes my choice. Here is a great article about exactly this topic:
http://www.marksdailyapple.com/kerrygold-gmos-primal-jainism-saffron-supplement/#axzz41EGkKlRc
I am an Indian and ghee is part of our tradition. The ghee can be made without buying commercial butter. Remove the top layer of cream from full cream everyday for 15-20 days. The cream should be stored in a glass bottle and kept in the deep freezer.
When there is enough cream accumulated, thaw it. Whip the cream with cold water. Whip till the butter separates from the butter milk. Collect the butter in a pan and heat it till ghee is formed .
I am an Indian and ghee is part of our tradition. The ghee can be made without buying commercial butter. Remove the top layer of cream from full cream milk everyday for 15-20 days. The cream should be stored in a glass bottle and kept in the deep freezer.
When there is enough cream accumulated, thaw it. Whip the cream with cold water. Whip till the butter separates from the butter milk. Collect the butter in a pan and heat it till ghee is formed .