
Homemade holiday gifts are one of my very favorite things. I love thoughtful, personalized gifts that are truly made with love! Homemade chocolate bark is probably one of my most favorite edible homemade gifts to make. Whether it’s a gift for a hostess of a holiday party or your dish to share, homemade chocolate bark is super simple to make and you can customize it to no end.
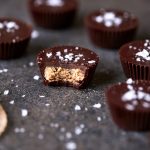
The possibilities for flavors and toppings is endless and you can really create something super special for whoever will receive it. It is super easy to make your chocolate bark allergen friendly, too. Easy to make gluten-free, vegan, nut-free, soy-free and so on. You can add dried fruit, nuts, seeds, your favorite cookies or candy, dried botanicals, spices or herbs. Some of my personal favorite flavor combos include sea salt or smoked sea salt. I also love a sprinkle of cinnamon, chili powder or cayenne to bring a little heat. Gluten-free pretzels or mini peanut butter cups are both amazing and fun toppings. The list could go on and on.
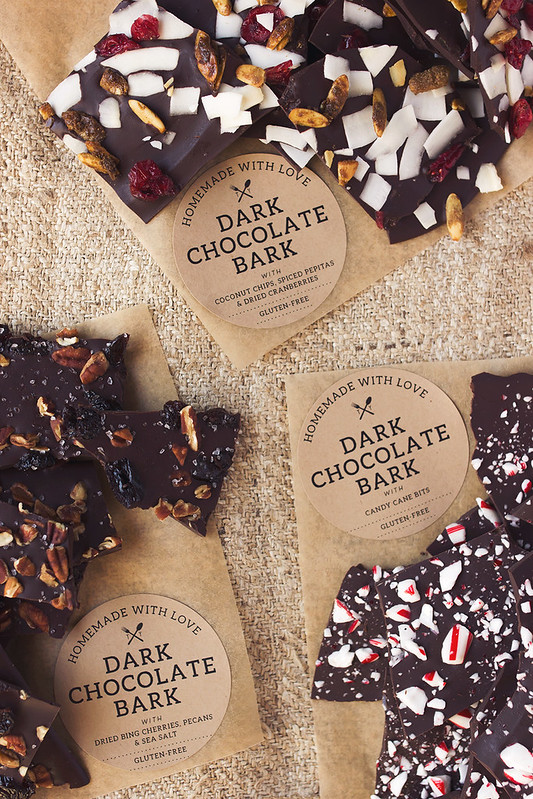
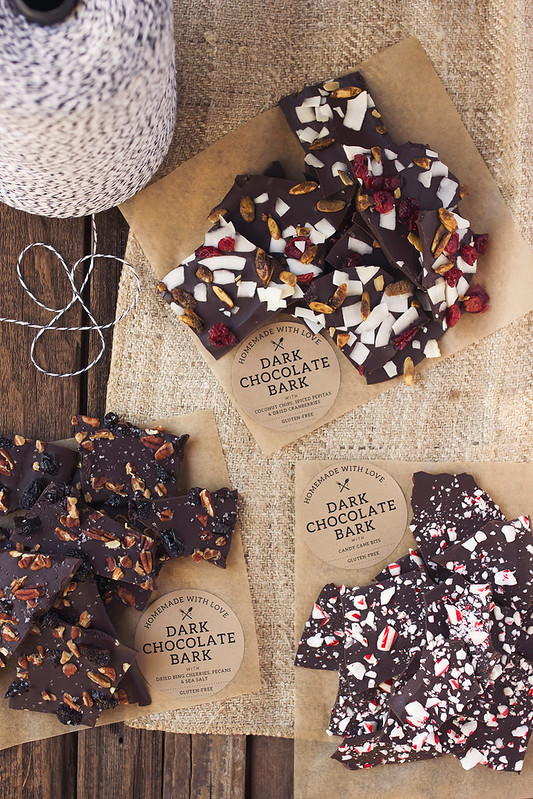
This time around I made a batch of dark chocolate bark with coconut chips, dried cranberries and spiced pepitas (pumpkin seeds). I also made a tray with dried bing cherries, pecans and sea salt. Of course, I couldn’t resist a holiday-inspired tray with candy cane bits. Check out these other flavor combos from the archives Dark Chocolate Bark with Dried Bing Cherries, Pistachios and Grey Sea Salt and Spicy Dark Chocolate Bark with Toasted Pumpkin Seeds and Sea Salt. (Can you tell I love sea salt on my chocolate?)
When I am making my bark, I prefer to look for a high quality dairy-free dark chocolate and I look for it to be at 70%-85% cacao with no soy lectin, organic and fair-trade, whenever possible. I usually use this brand or this one. You can also use homemade dark chocolate bars.
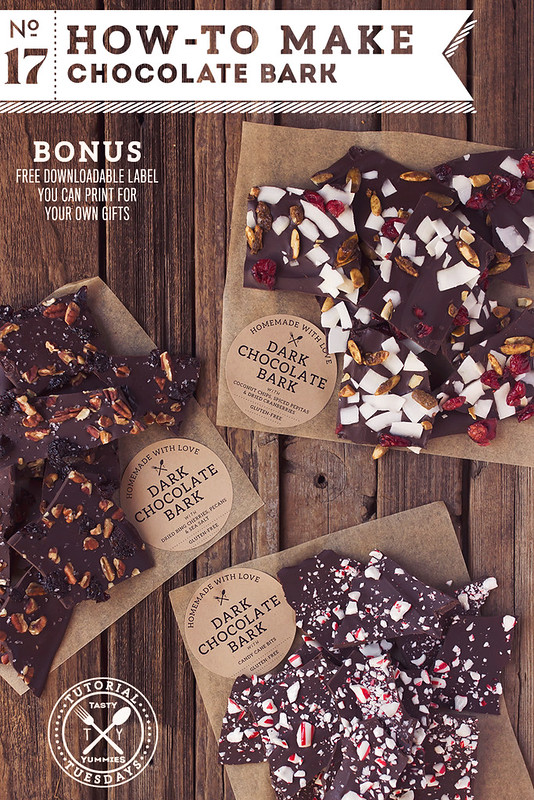
BONUS – PRINTABLE LABELS:
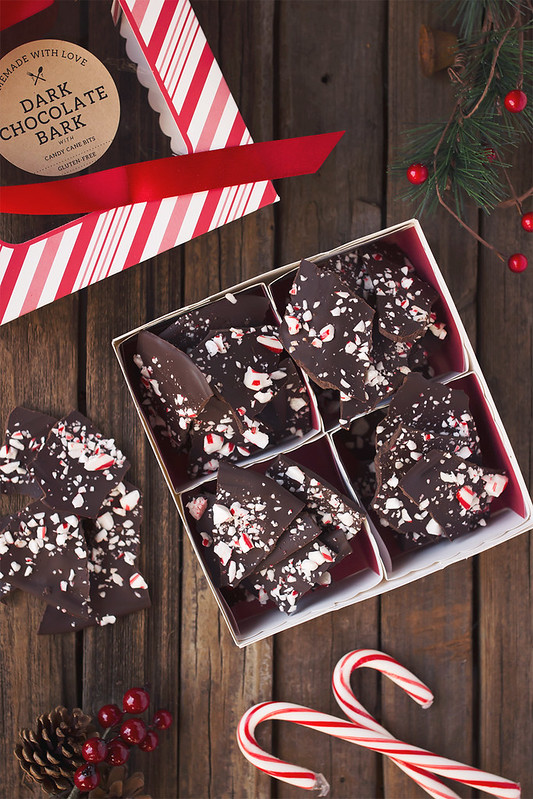
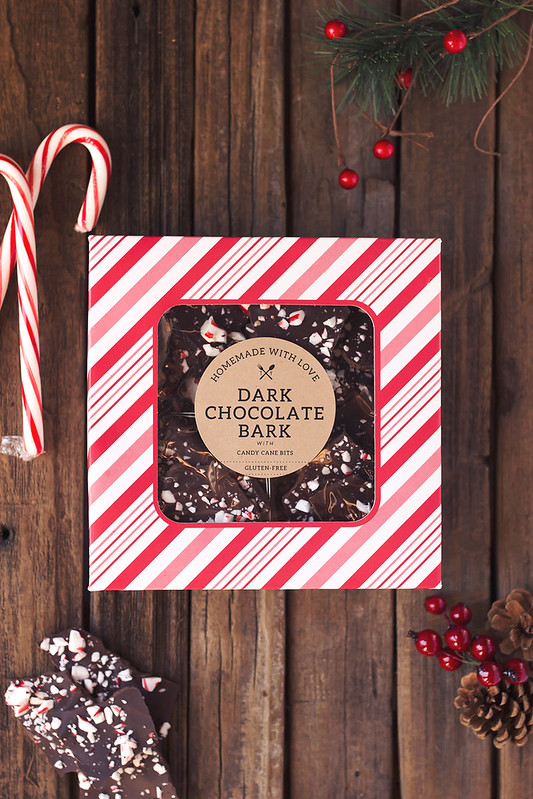
Once you’ve made your bark, grab some super cute packaging, a paper bag or pouch, a box, some ribbon or baker’s twine etc and add a cute label telling the recipient what’s on/in their bark. I included a FREE printable label for you here, just fill in your name up top and add what the toppings are at the bottom. There is a version for “dark chocolate bark” and another that just says “chocolate bark“. Print them out and get to your gift making. Or just make a tray of your favorite bark and don’t share a bit of it! Print these 2.5-inch diameter labels on any Avery brand 22808 template. I used these brown kraft paper labels.
What chocolate bark flavor combos are your favorite?
How-to Make Chocolate Bark
What you’ll need:
- 8-10 ounces of good quality chocolate (milk, dark, white), chopped
- Toppings and add-ons of your choice: dried fruit, nuts, seeds, granola, cookies, popcorn, pretzels, candy, herbs, spices, dried botanicals, sea salt, etc
- parchment paper or foil
- cookie sheet
- spatula
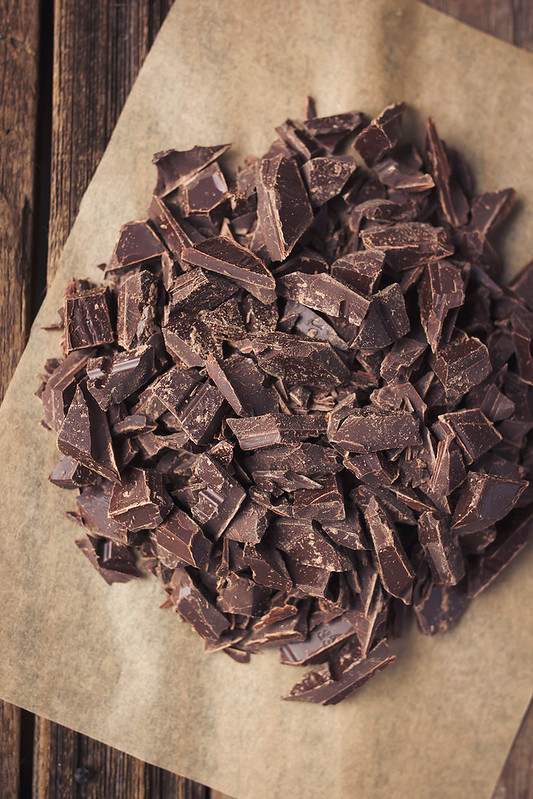
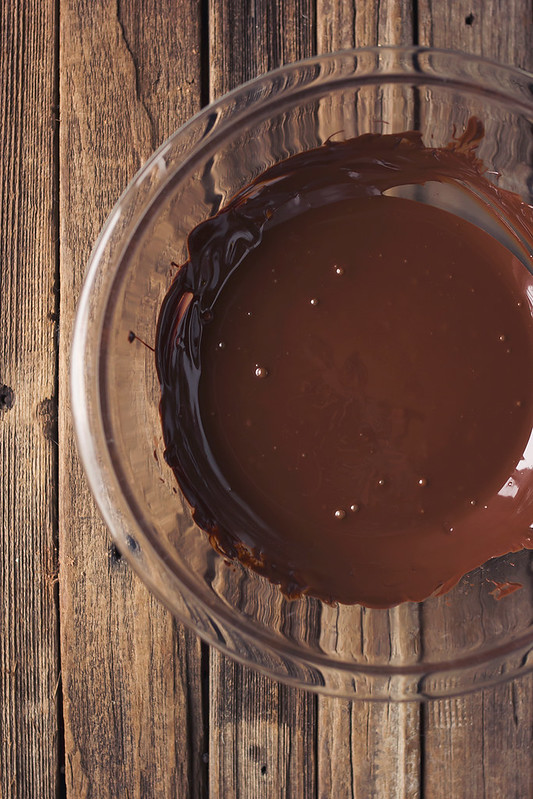
Melt the chocolate over double boiler using hot but not boiling water, in the microwave in 30 second increments or a chocolate melter. However you melt it, stir regularly as you are melting the chocolate. Keep the chocolate under 90ºF, so that it doesn’t seize up on you. If on the stove top, you can remove from the heat if necessary, as you go.
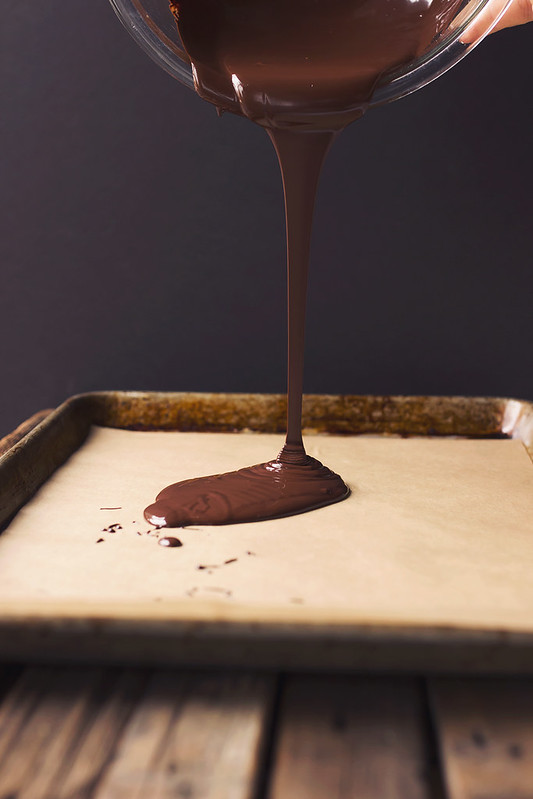

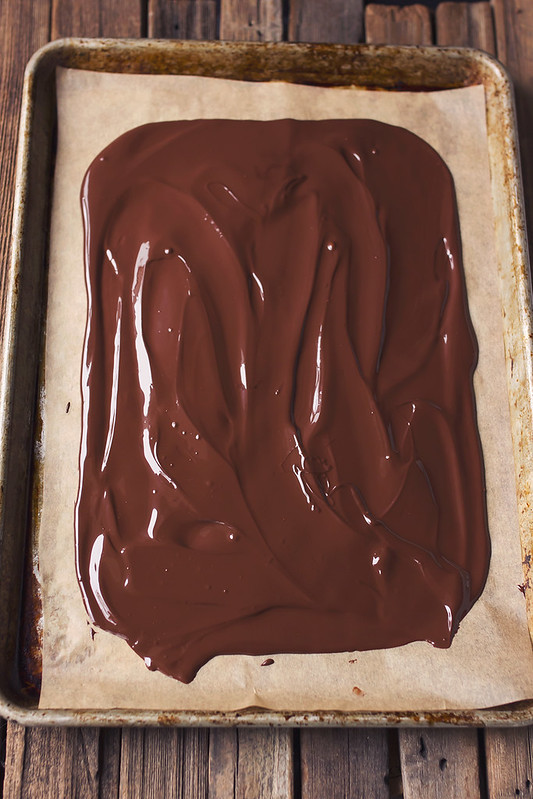
Once melted, pour the chocolate onto a foil or parchment paper lined baking sheet. Using a rubber spatula or offset spatula, spread the chocolate evenly until it is about 1/8 – 1/4 inch thick, or as thick as you want it to be.
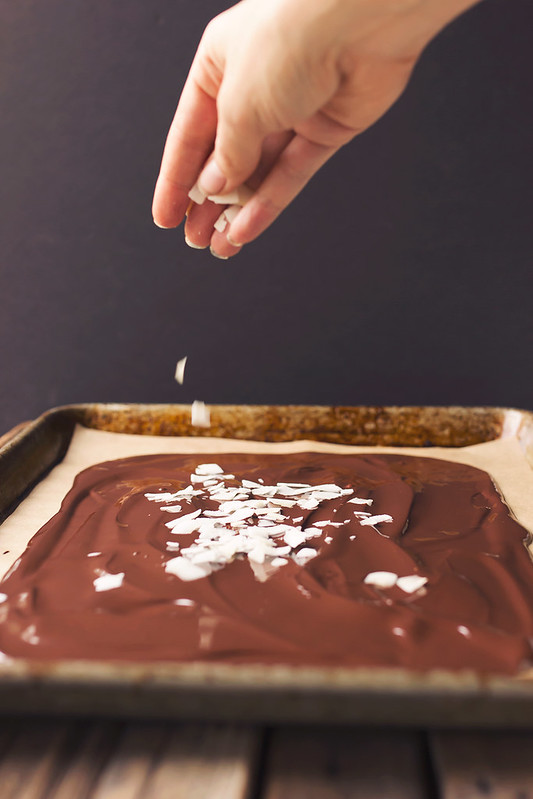
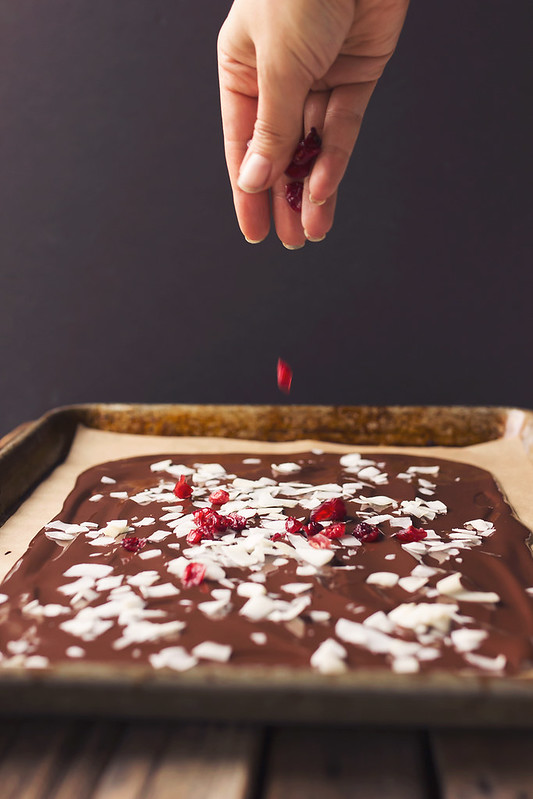
Sprinkle any toppings you are using, evenly over top the melted chocolate. Figure approximately a total of 1 cup of toppings for every half pound (8 ounces) of chocolate. If you are using three different ingredients, you would likely want to go with 1/3 cup of each.


Let the bark cool at least 2 hours in a cool area or 30 minutes in the fridge. Break into bite-sized pieces and place into jars or gift boxes with a tag that says what’s in the bark.
NOTE: You can also created layered bark with layers of dark or milk chocolate or maybe a layer of white chocolate on top. Simply follow the instructions above, letting the first layer cool for 30 minutes in the fridge, before you add the next layer of melted chocolate and so on.
This time of year, one of my favorite ways to to make chocolate bark is a good quality dark chocolate with candy cane bits! It’s the best flavor combo, it’s so perfectly festive and it makes a wonderful gift!
Disclosure: This post contains Amazon affiliate links. I am a participant in the Amazon Services LLC Associates Program, an affiliate advertising program designed to provide a means for sites to earn advertising fees by advertising and linking to amazon.com. This means if you make a purchase using these links above – your cost remains the same, but I earn a small percentage to help support this blog. Thank you!


23 Responses
I am a celiac and have a difficult time finding truly gluten free chocolate (not processed on equipment that also processes gluten). Would anyone know a good source?
How many bars of chocolate would you say go into making one tray of bark?
Kat, I give the measurements above. The amount of bars depends on the weight of each bar. One tray of bark is approximately 8-10 ounces of chocolate, as I mention above.
What kind of chocolate bar do you recommend? Can I use GHIRARDELLI 60% Cacao Bittersweet Chocolate Baking Chips? or Do I need to use good quality chocolate bar that I like to eat? Thanks.
These photos are simply gorgeous and I’m drooling over all that chocolate bark (especially the peppermint one – that’s my weak spot). Love the labels you made too! (Where can I place orders?;)
This would be eaten in my house in minutes!!
How can I prevent the chocolate from melting after putting it in the box? When I make toffee It usually gets warm after freezer time.
Nicole, as long as it is stored in a cool spot, it should be fine and not melt. If it is in a warm room, in the sun, etc – it will definitely melt.
Can you provide a link to buy the cute boxes?
Michele I bought these several years ago, they are from Martha Stewart’s line of products, I either got them at Michael’s or Joann Fabrics.
I don’t know about this. I’m allergic to wheat, dairy, gluten, about everything. So could you tell me how to make chocolate bark that doesn’t have any of that allergen stuff in it? I can hardly eat, I’m always hungry, cause it takes a long time to make foods that don’t have my allergic stuff in it. So please, please help me!
Erica
I made these for my sister’s birthday, and I don’t want her to see them in the fridge. They are currently cooling right now because she isn’t home. Do you have any suggestions on where to put them?
Megan, you can put in the freezer too, then just give them a little time to thaw before you eat. Though the chocolate will sweat just a bit (that little bit of moisture on the surface) once it comes out of the freezer, but it will still be tasty and beautiful. You could also just put them in a brown paper bag in the fridge and write on the front “poop. don’t open”. That’ll solve all your problems.
that made me laugh Beth @ Tasty Yummies 🙂
Thanks so much for this wonderful homemade gift idea and also for sharing the printable labels to save me some extra time. Looking forward to making and giving these as family gifts this year to all the aunts and uncles. I hope they turn out as beautiful as yours!
Hi, do I use salted nuts or raw?
Thanks
Whatever you prefer!
I made bark for the holidays. I used morsels, melted properly and smoothed onto a silicone topped try. Spread toppings snd cooled in refrigerator. They looked perfect! I stored in tin cookie tins which I placed in garage due to warm weather conditions. after 4 days, I opened tins to serve at Christmas table. To my huge disappointment, the bark had lost its sheen and picked up an ugly spotted white appearance. I knew it wasn’t spoiled and still tasted good, but too ugly to serve to my guests! What did I do wrong?
How did you melt the chocolate? It could be “bloom” https://en.wikipedia.org/wiki/Chocolate_bloom
This has to do with the tempering (melting) not being done properly or it could have been too warm wherever you kept it. Chocolate can be a tad temperamental that way. Usually this means that the cocoa butter that has separated toward the surface – still edible, just not as pretty is all. Sorry that happened to you.
Hi there!
Great ideas! Quick question do you have a link to purchase the boxes that you package the bark in?
Hi Charlene, I bought these boxes years ago at a craft store, Michaels or Joann Fabrics or something, I think they were made by Martha Stewart.
I can not find the free printable label…
Linda, they are all right there within the post, liked up. Can’t miss em, under the heading that says “BONUS – PRINTABLE LABELS:”